Futaba 12Z Battery pack rebuild
Replacing cells in the Futaba 12z battery pack
June 8, 2019
Note: Originally posted on RCgroups.
Batteries selection
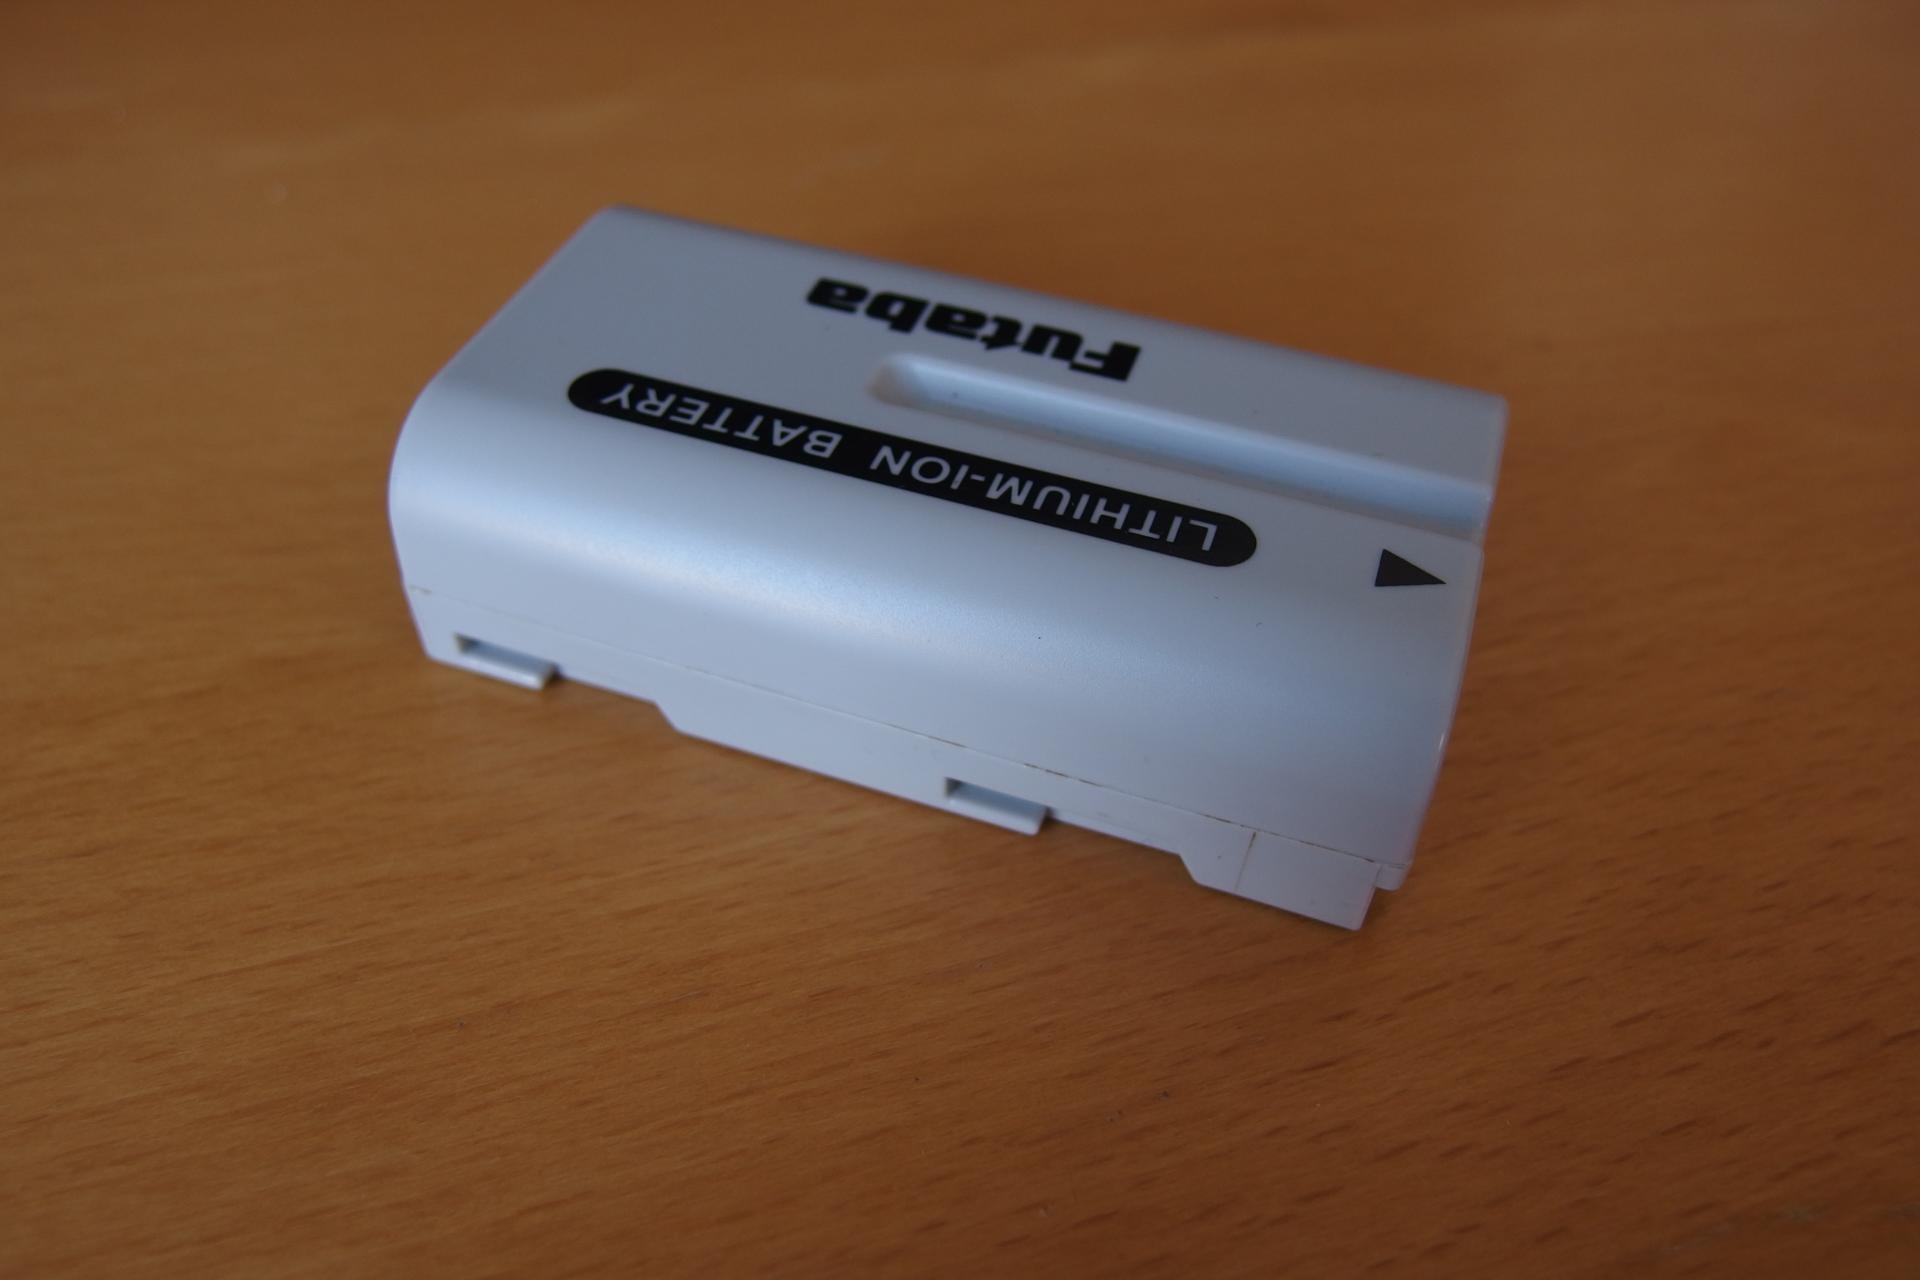
My old but trusty Futaba 12z still performs nicely but the battery life is disappointing. If I remember correctly the radio draws about 500mA when transmitting. The genuine battery pack is expensive even for Futaba’s standards. The quality alternative - NP-F570 from Sony is also difficult to get. There are only aftermarket batteries with unknown cells from China. What is even worse is that the battery capacity is not more than 2200mAh for the genuine one and surely less for Chinese knock-offs.
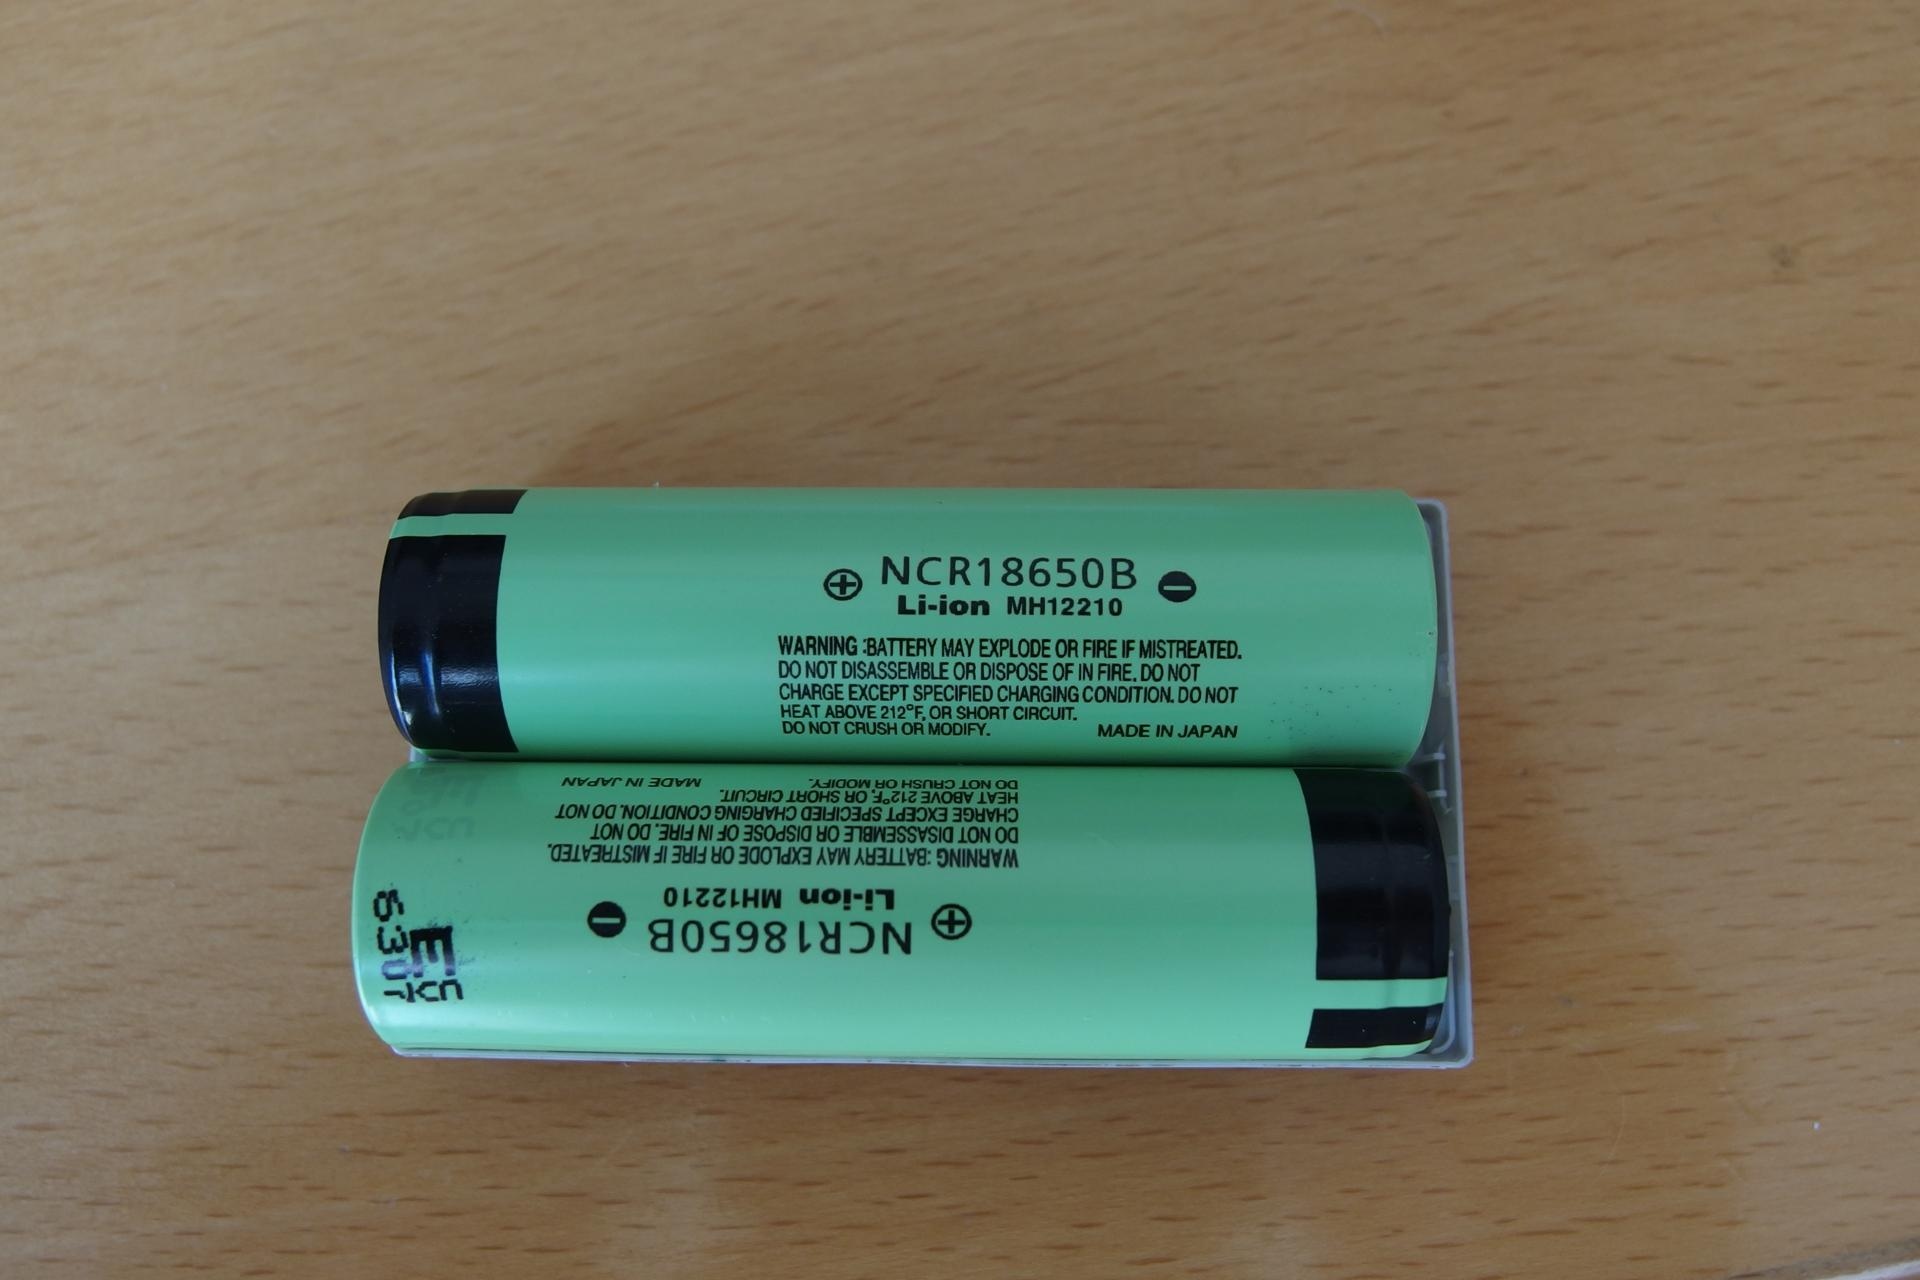
I decided for finding the highest capacity 18650 cells from a reliable source and rebuilding the battery pack. I settled on NCR18650B from Panasonic. Alternatively, NCR18650GA would work too. Some side-by-side comparison is here.
Step-by-step procedure:
- Get genuine Li-Ion cells. Ideally, use a local electronic components distributor. I bought mine from www.ges.cz for about 9 USD each. I tested battery voltage in the store to make sure it is not an old stock. Both batteries had 3.93V. Use only cells with the identical voltage not lower than ~3.2 V.
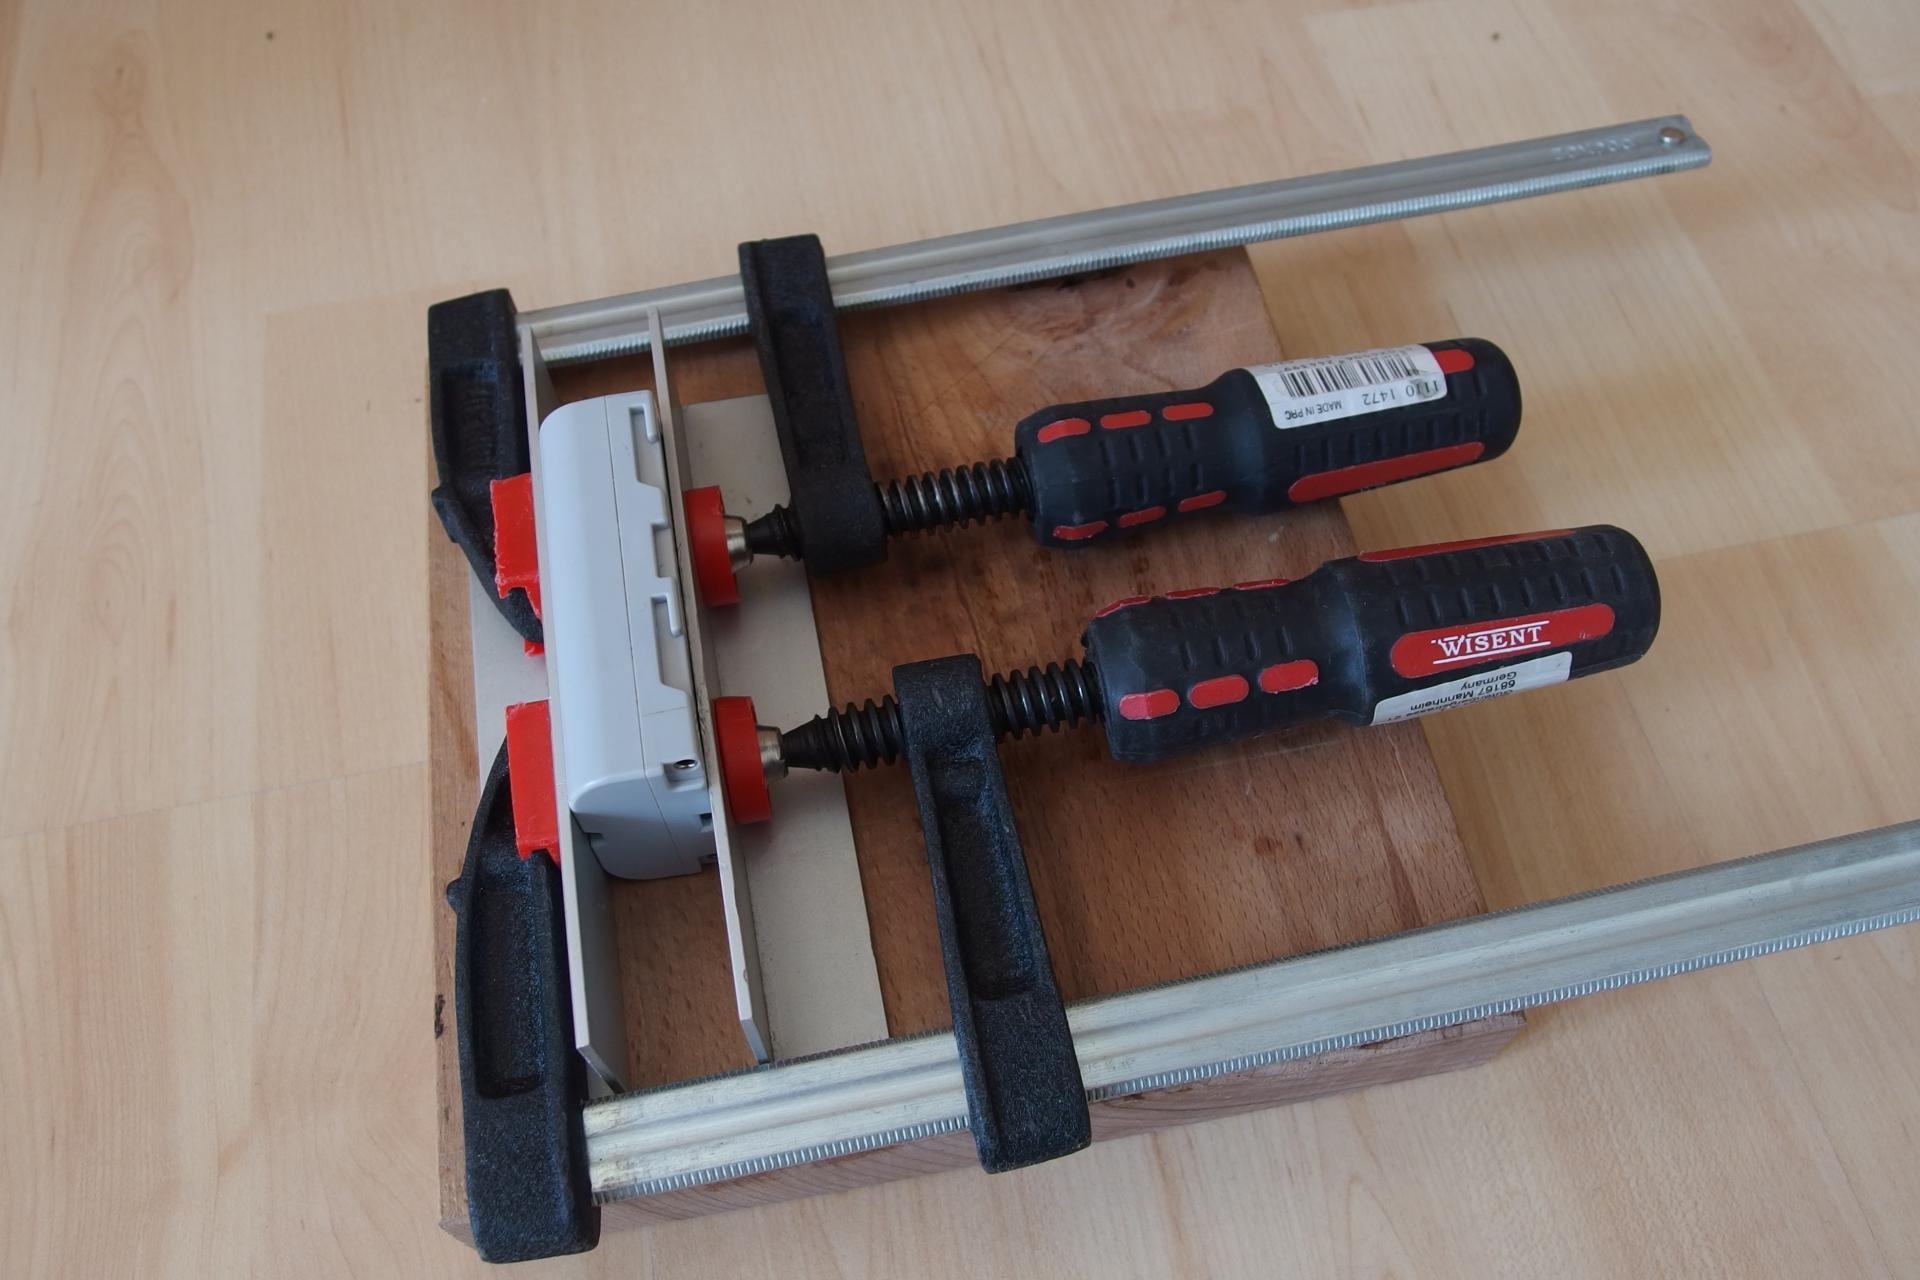
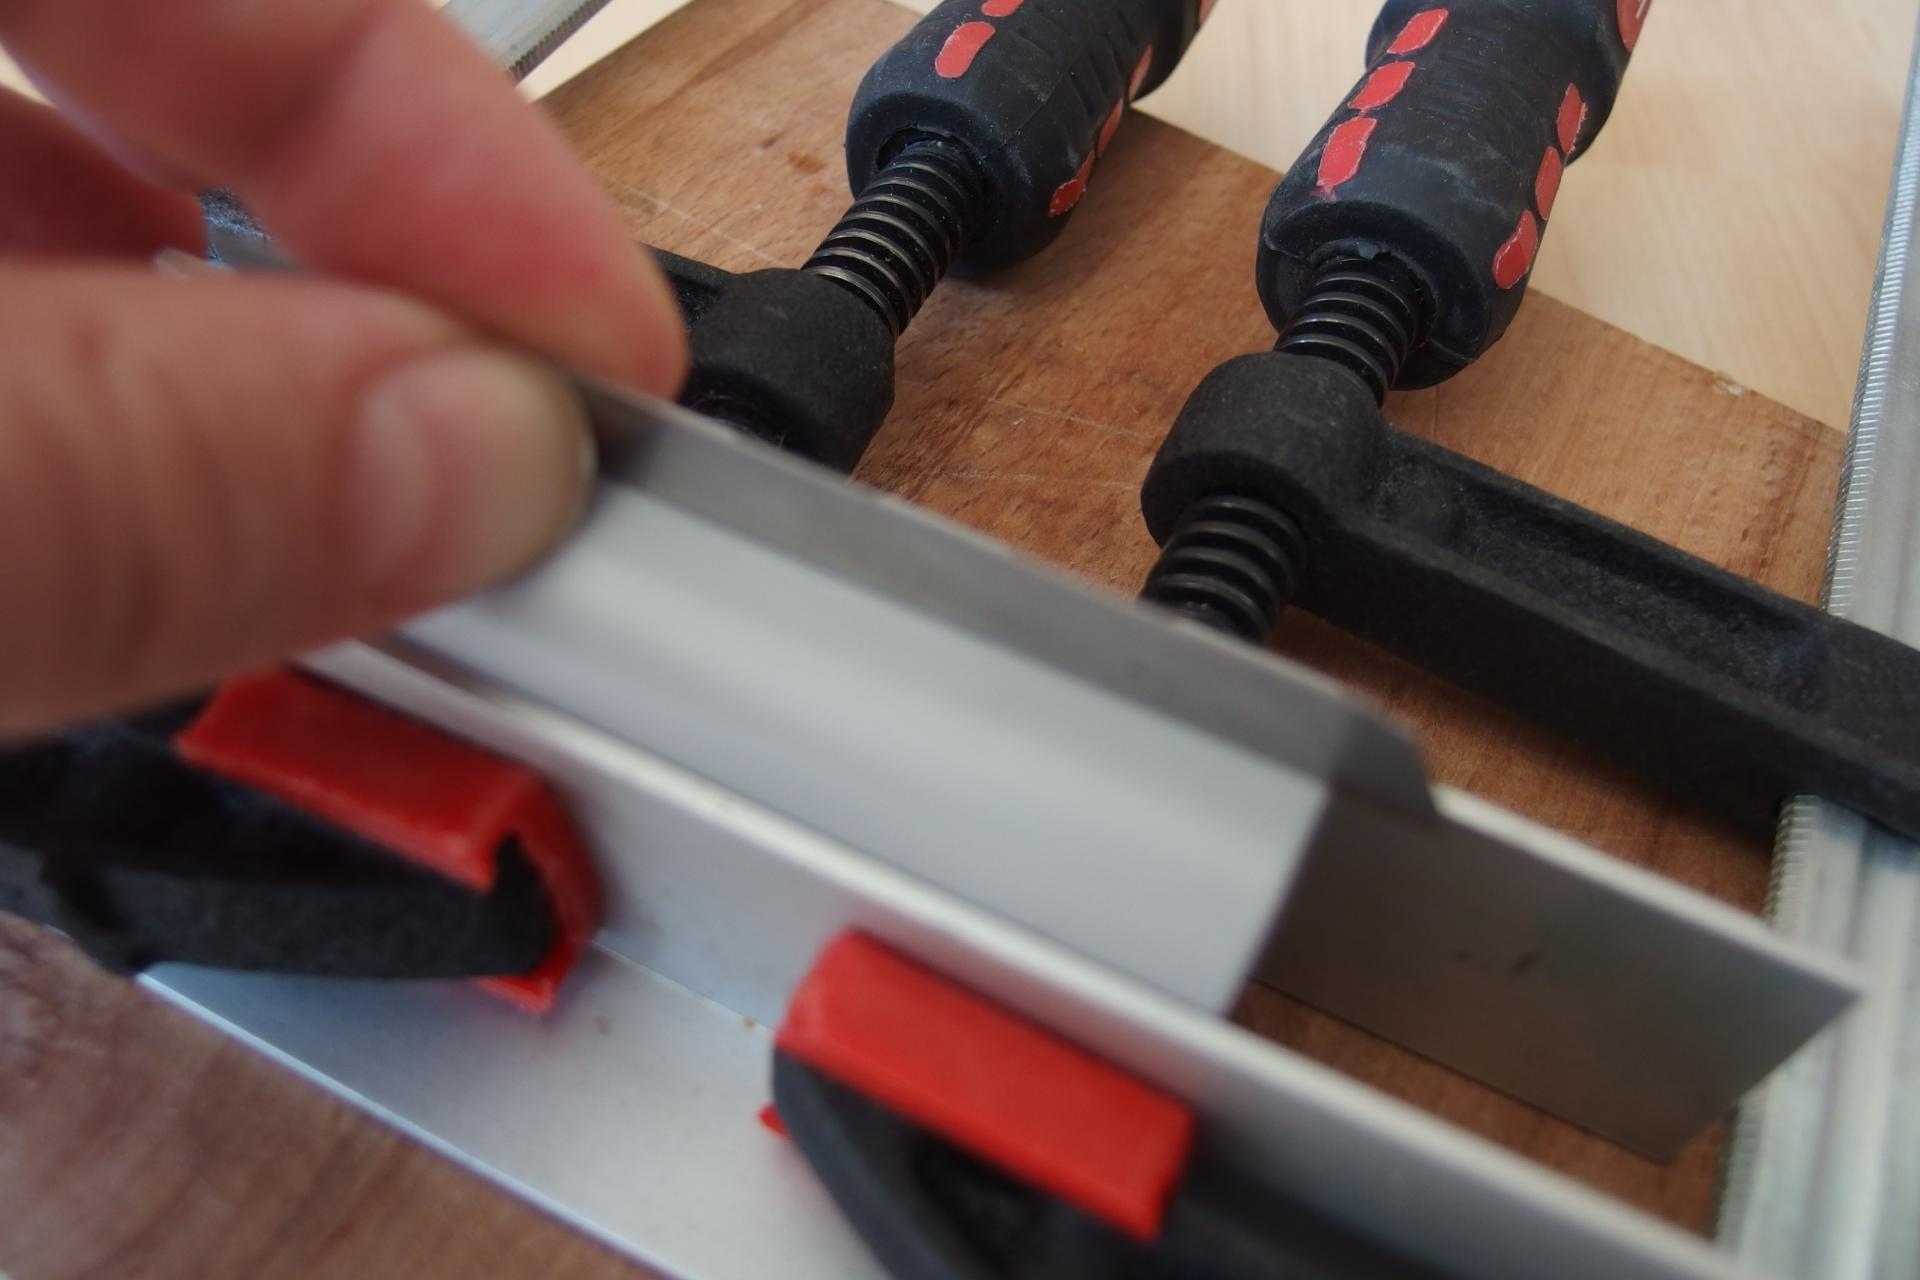
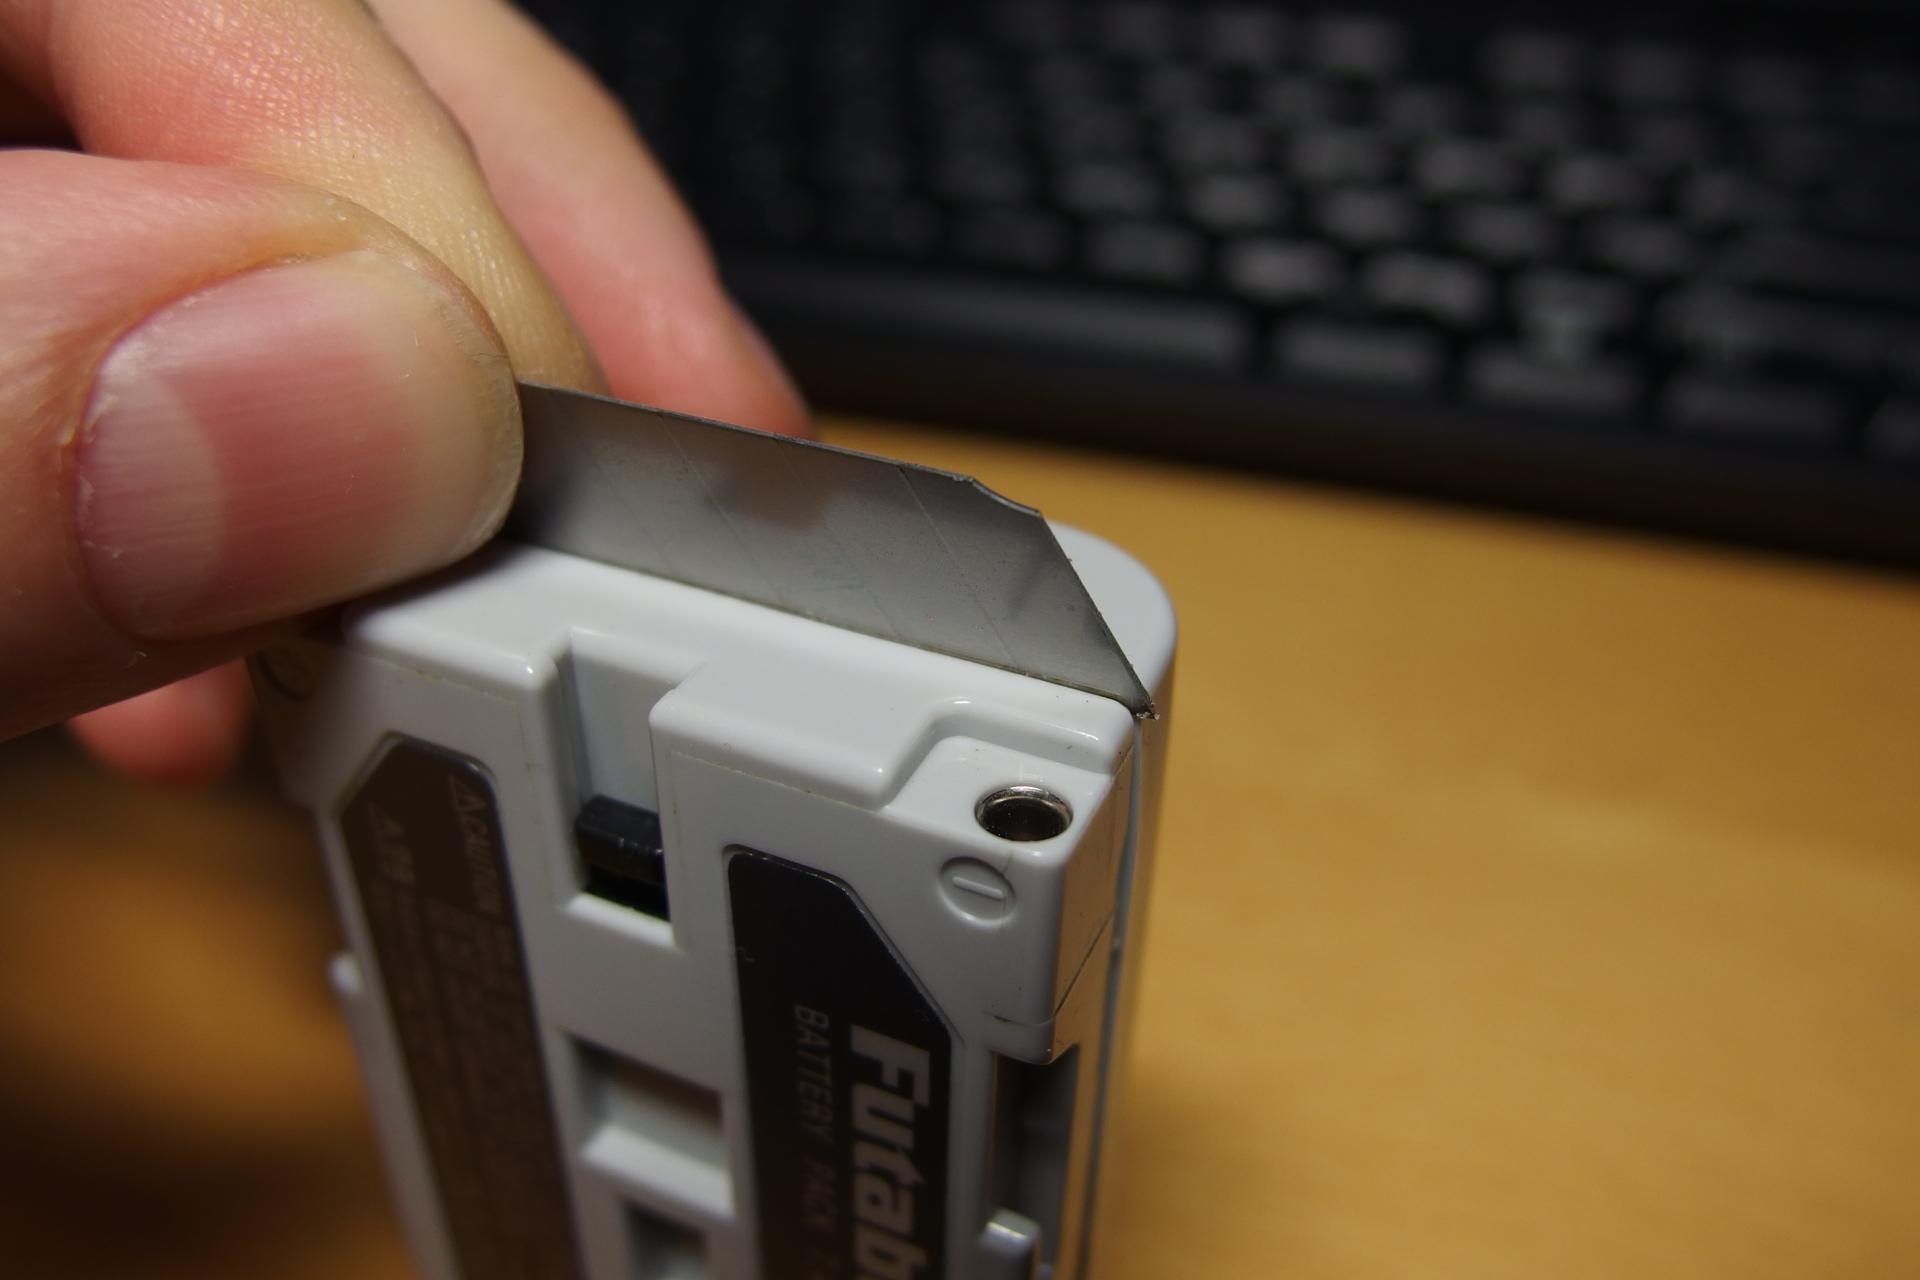
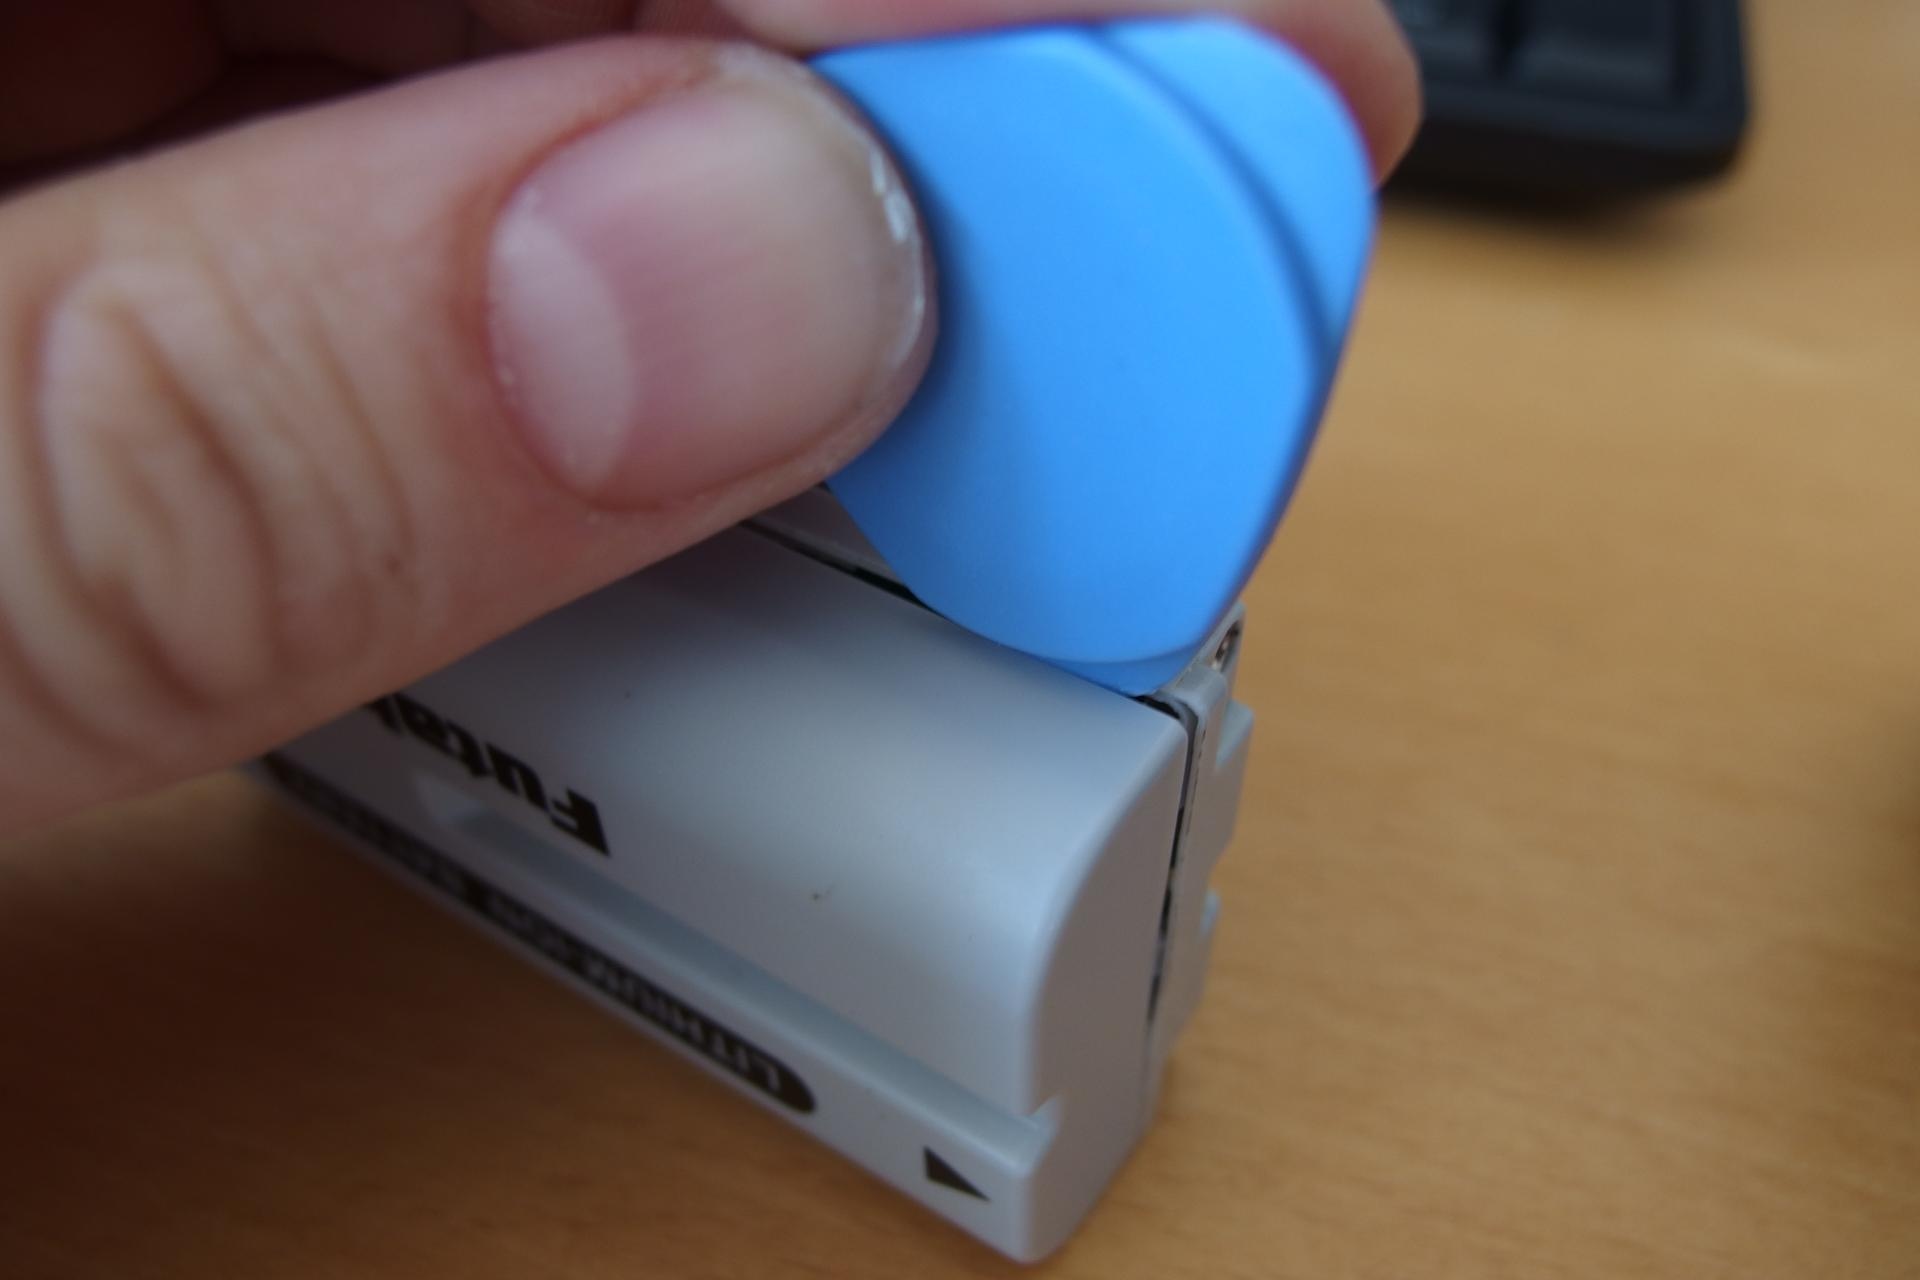
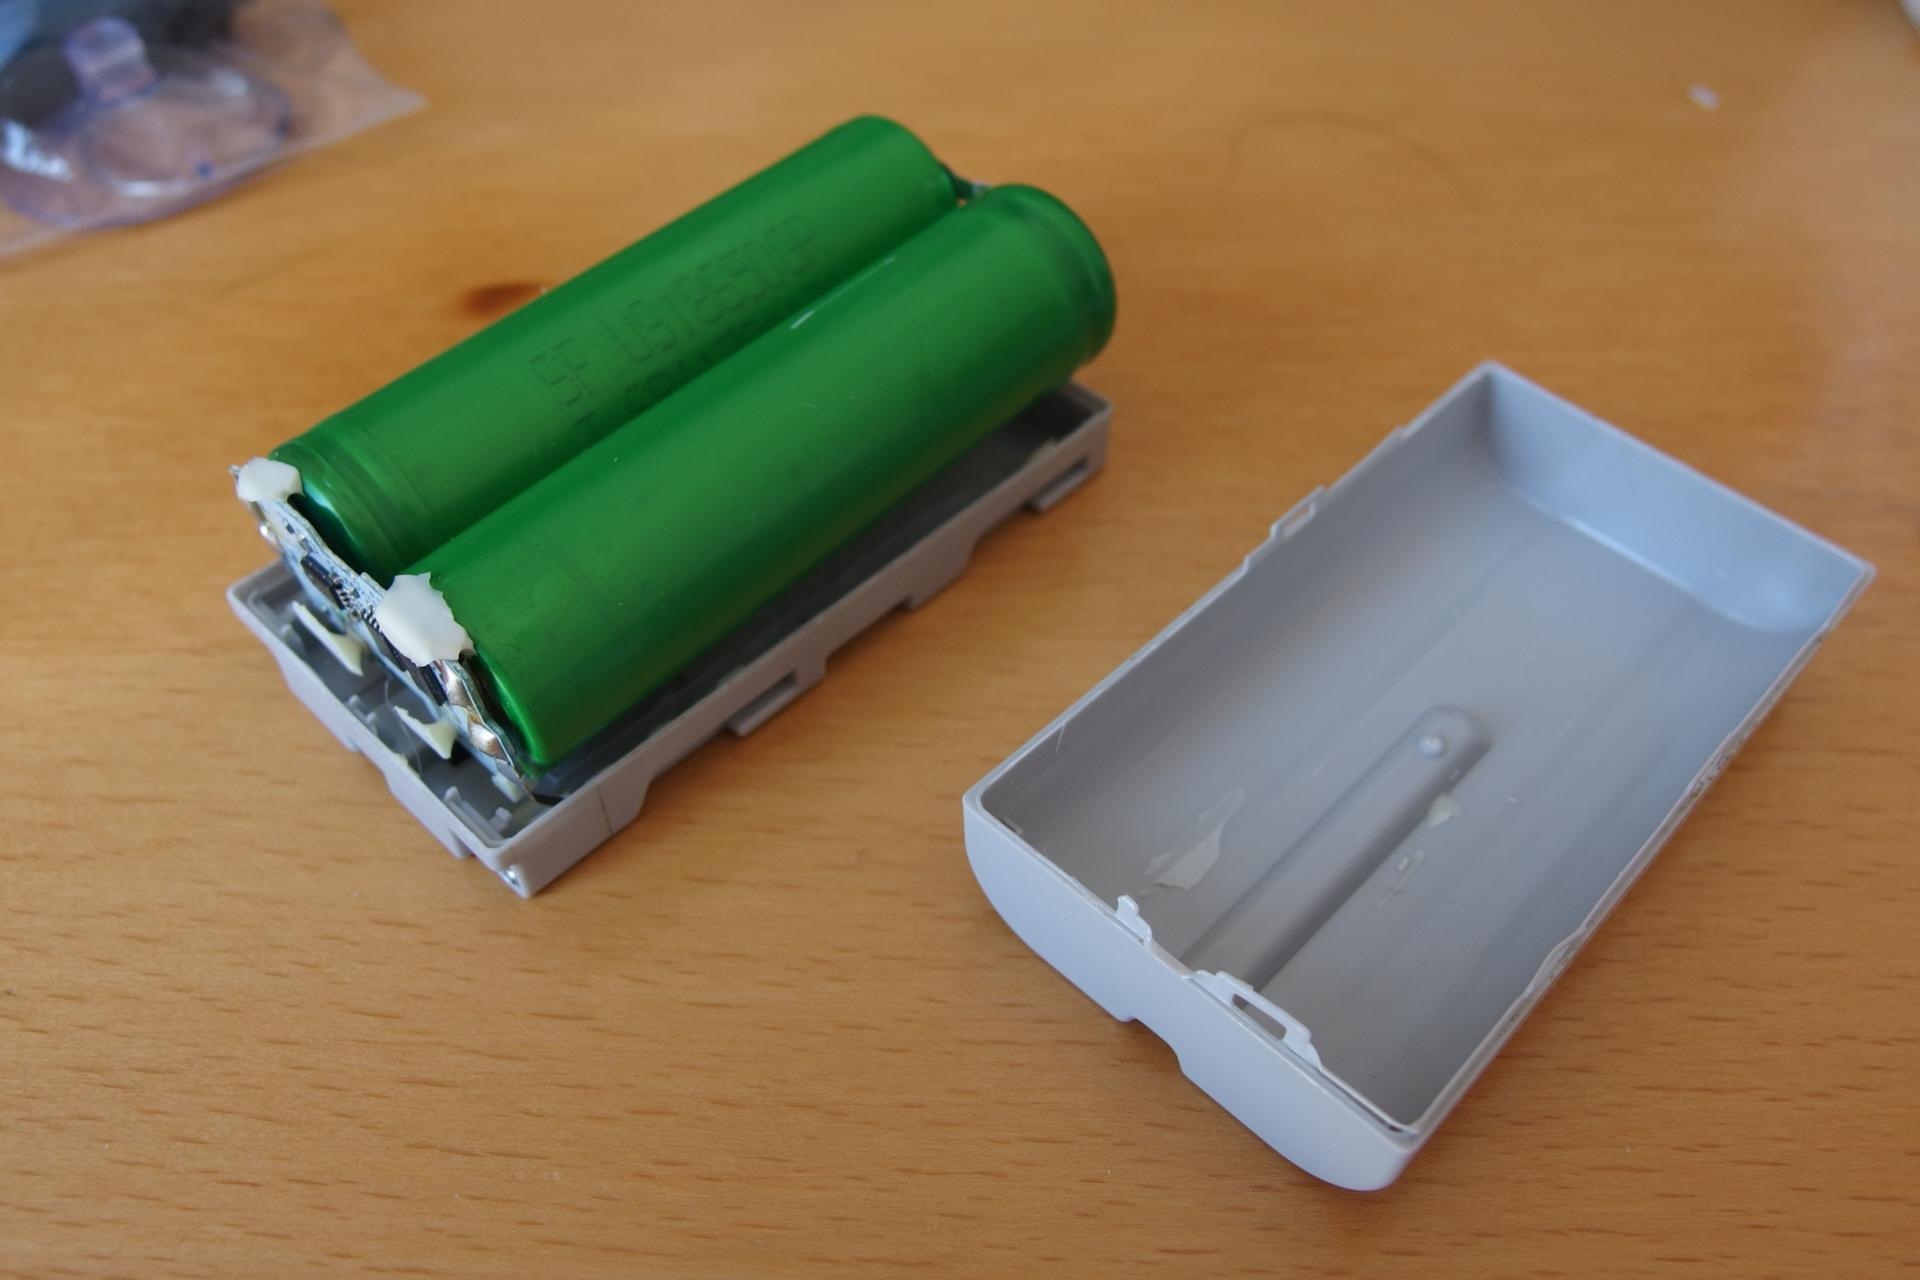
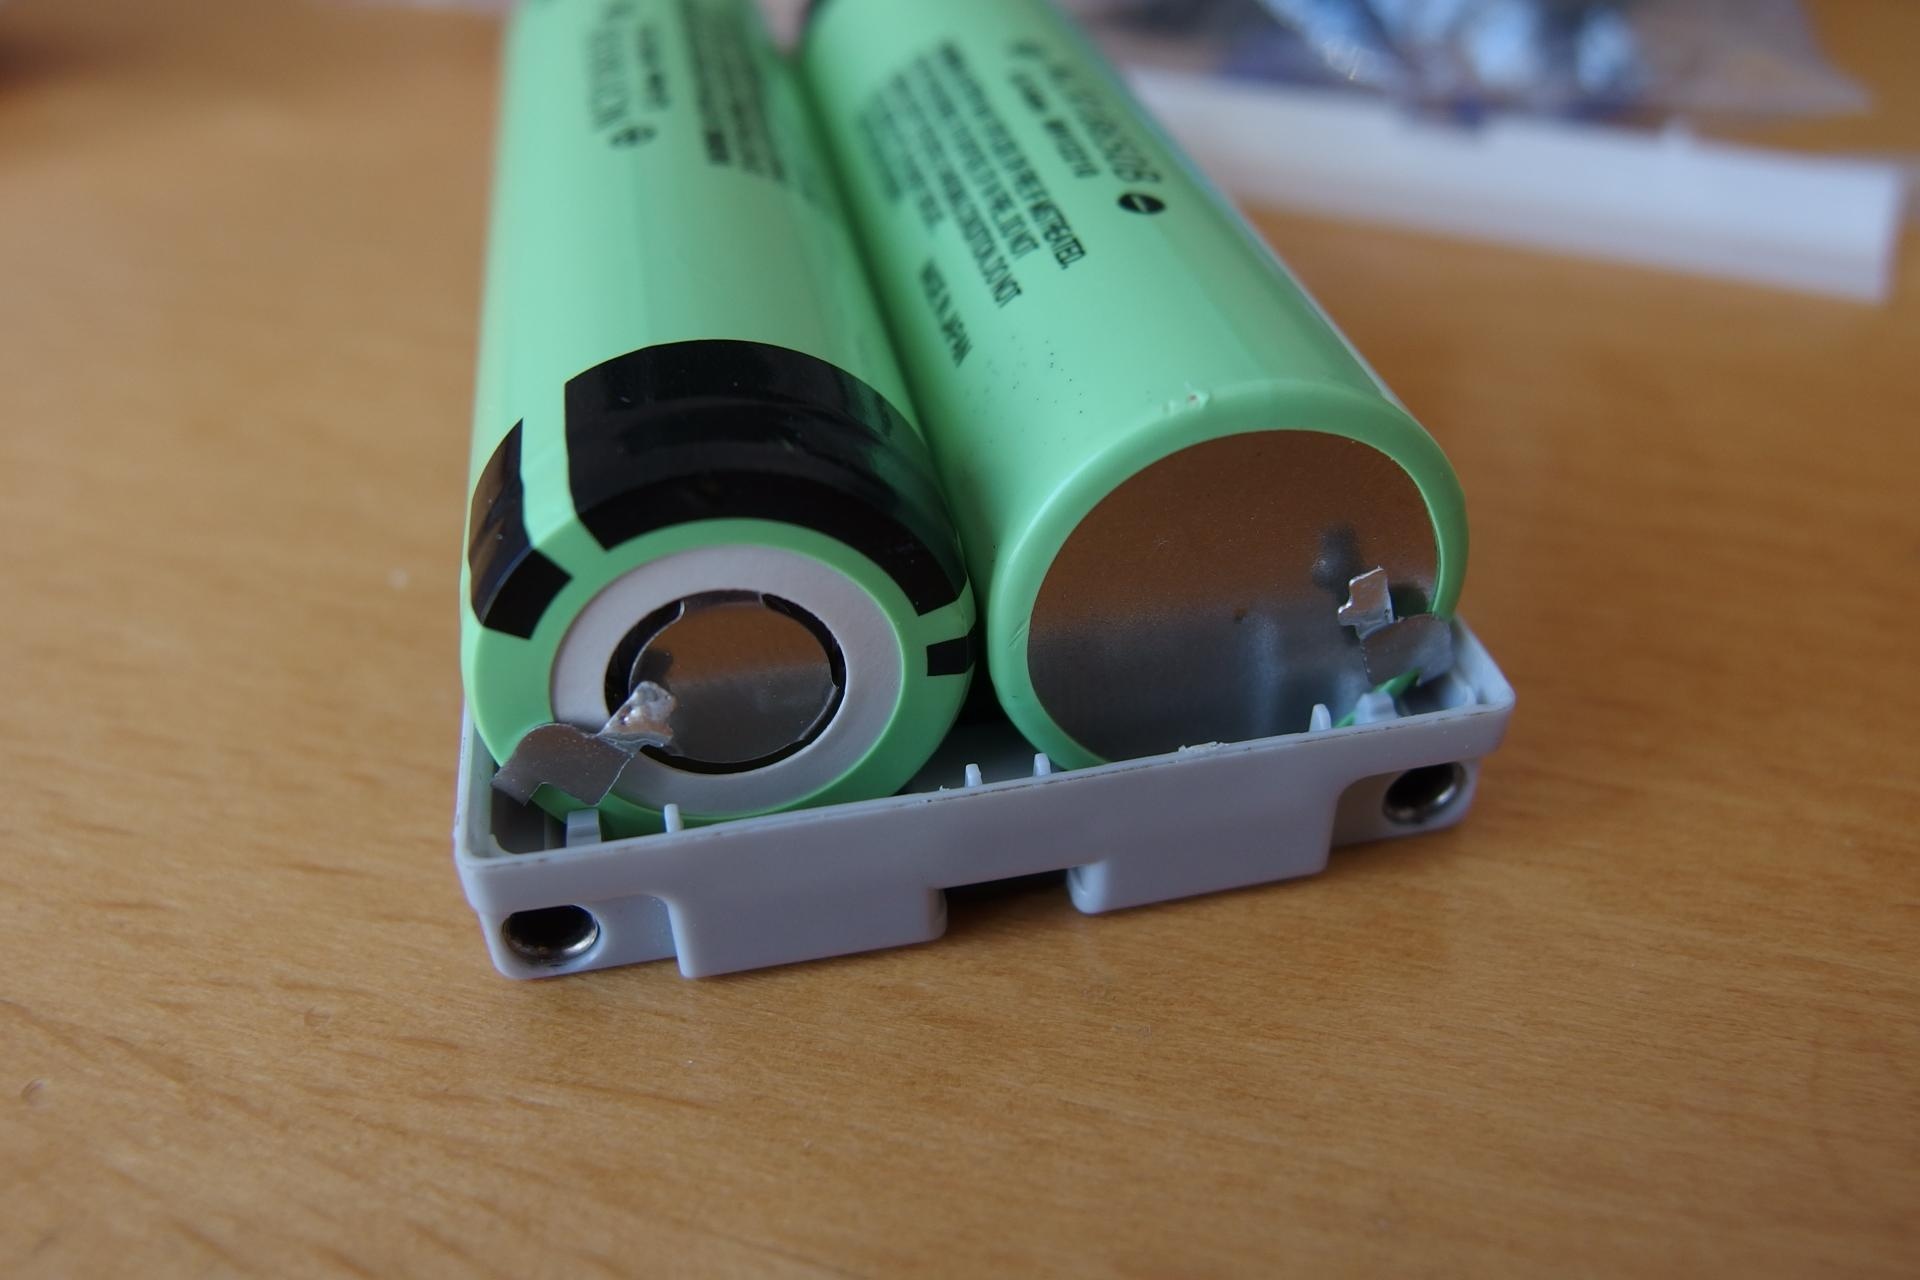
- Open the old battery. I used the blade from a hobby knife. Put it in the crack and start hitting it with a small hammer from the top. This will cut most of the tabs but the ultimate result looks good.
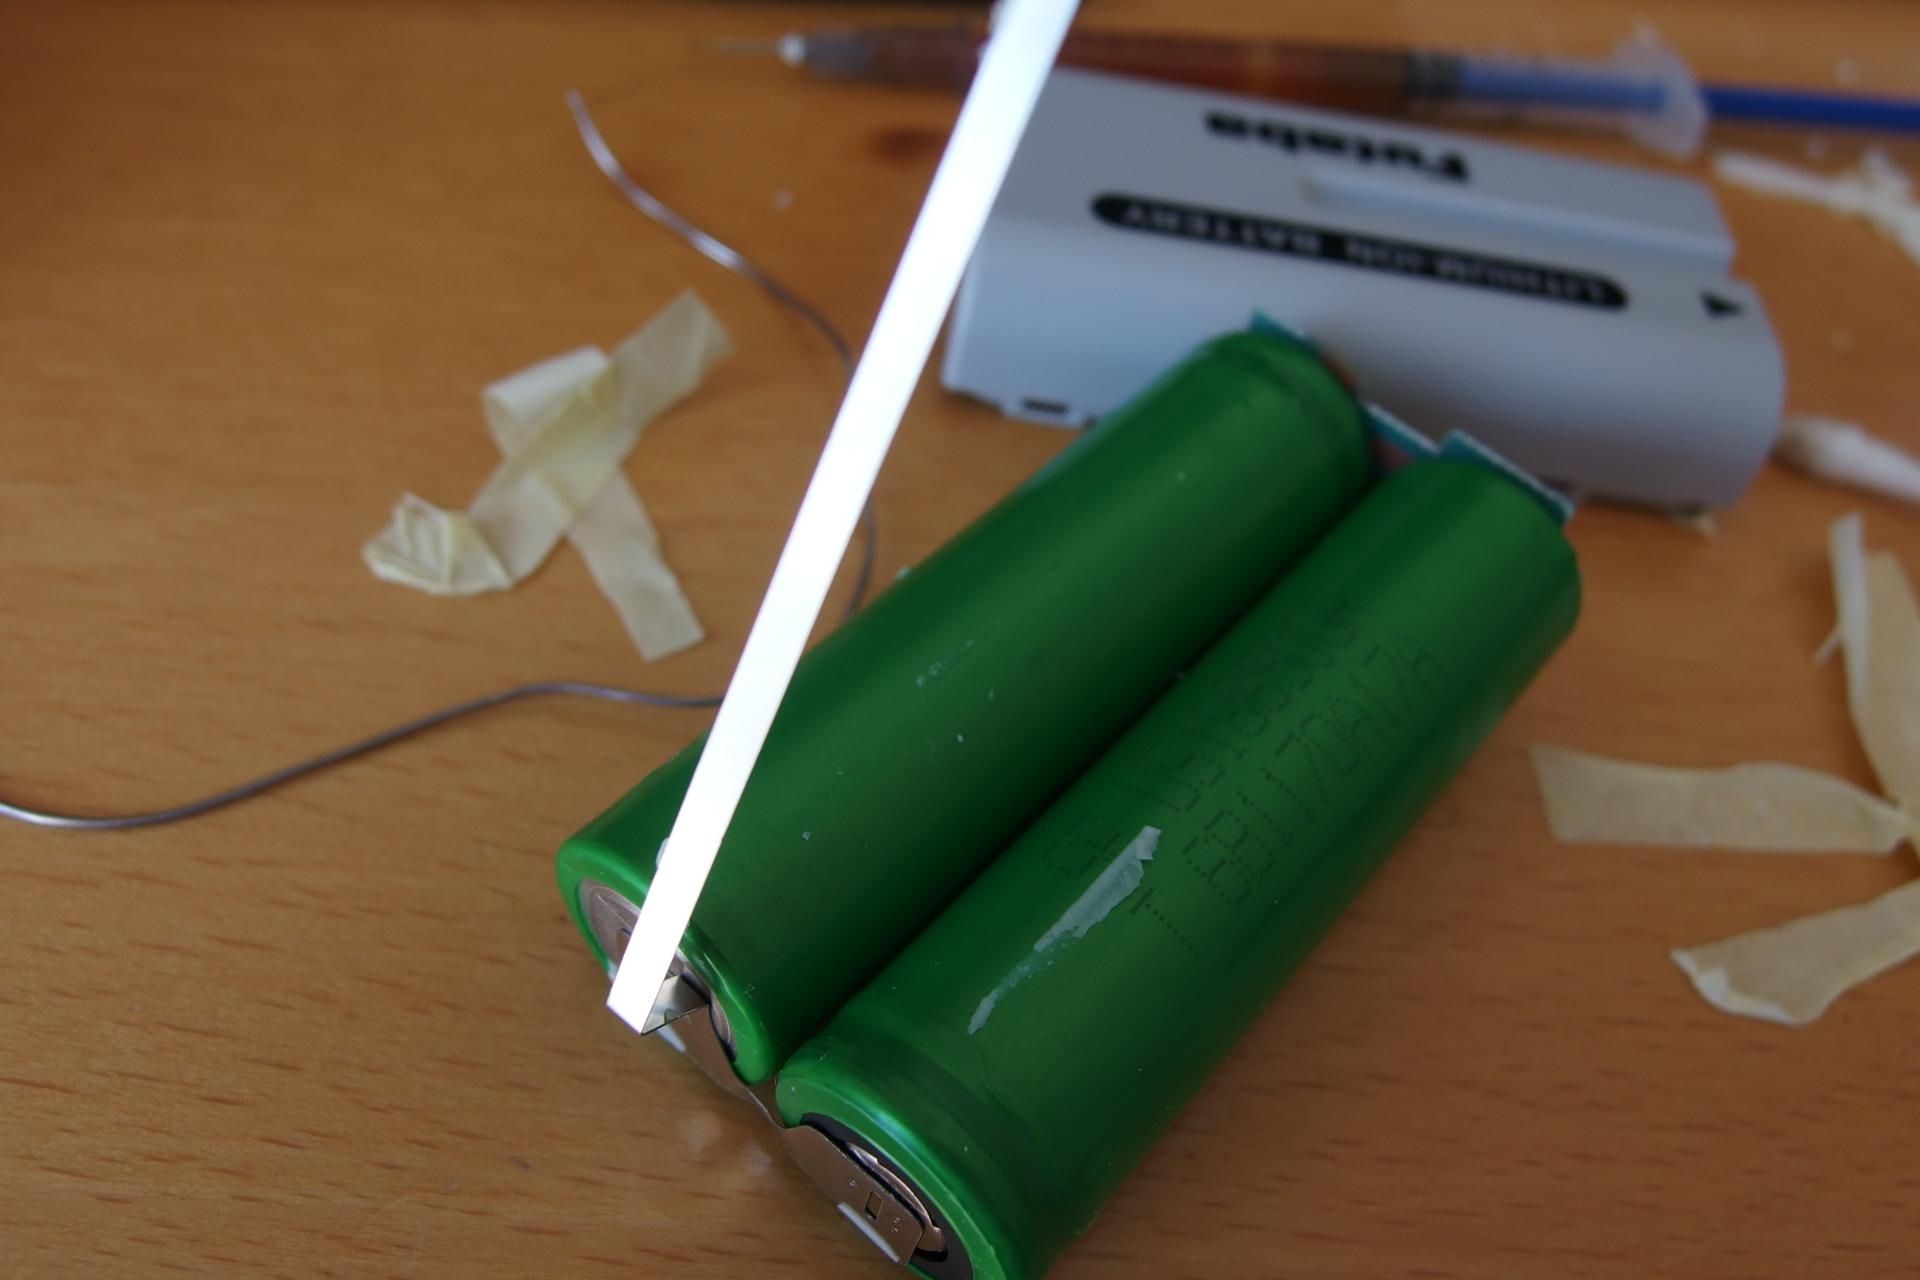
- Remove cells from the compartment and clean the old silicon-like glue. Trim tabs or their remains, if needed. You need to de-solder contacts from the PCB.
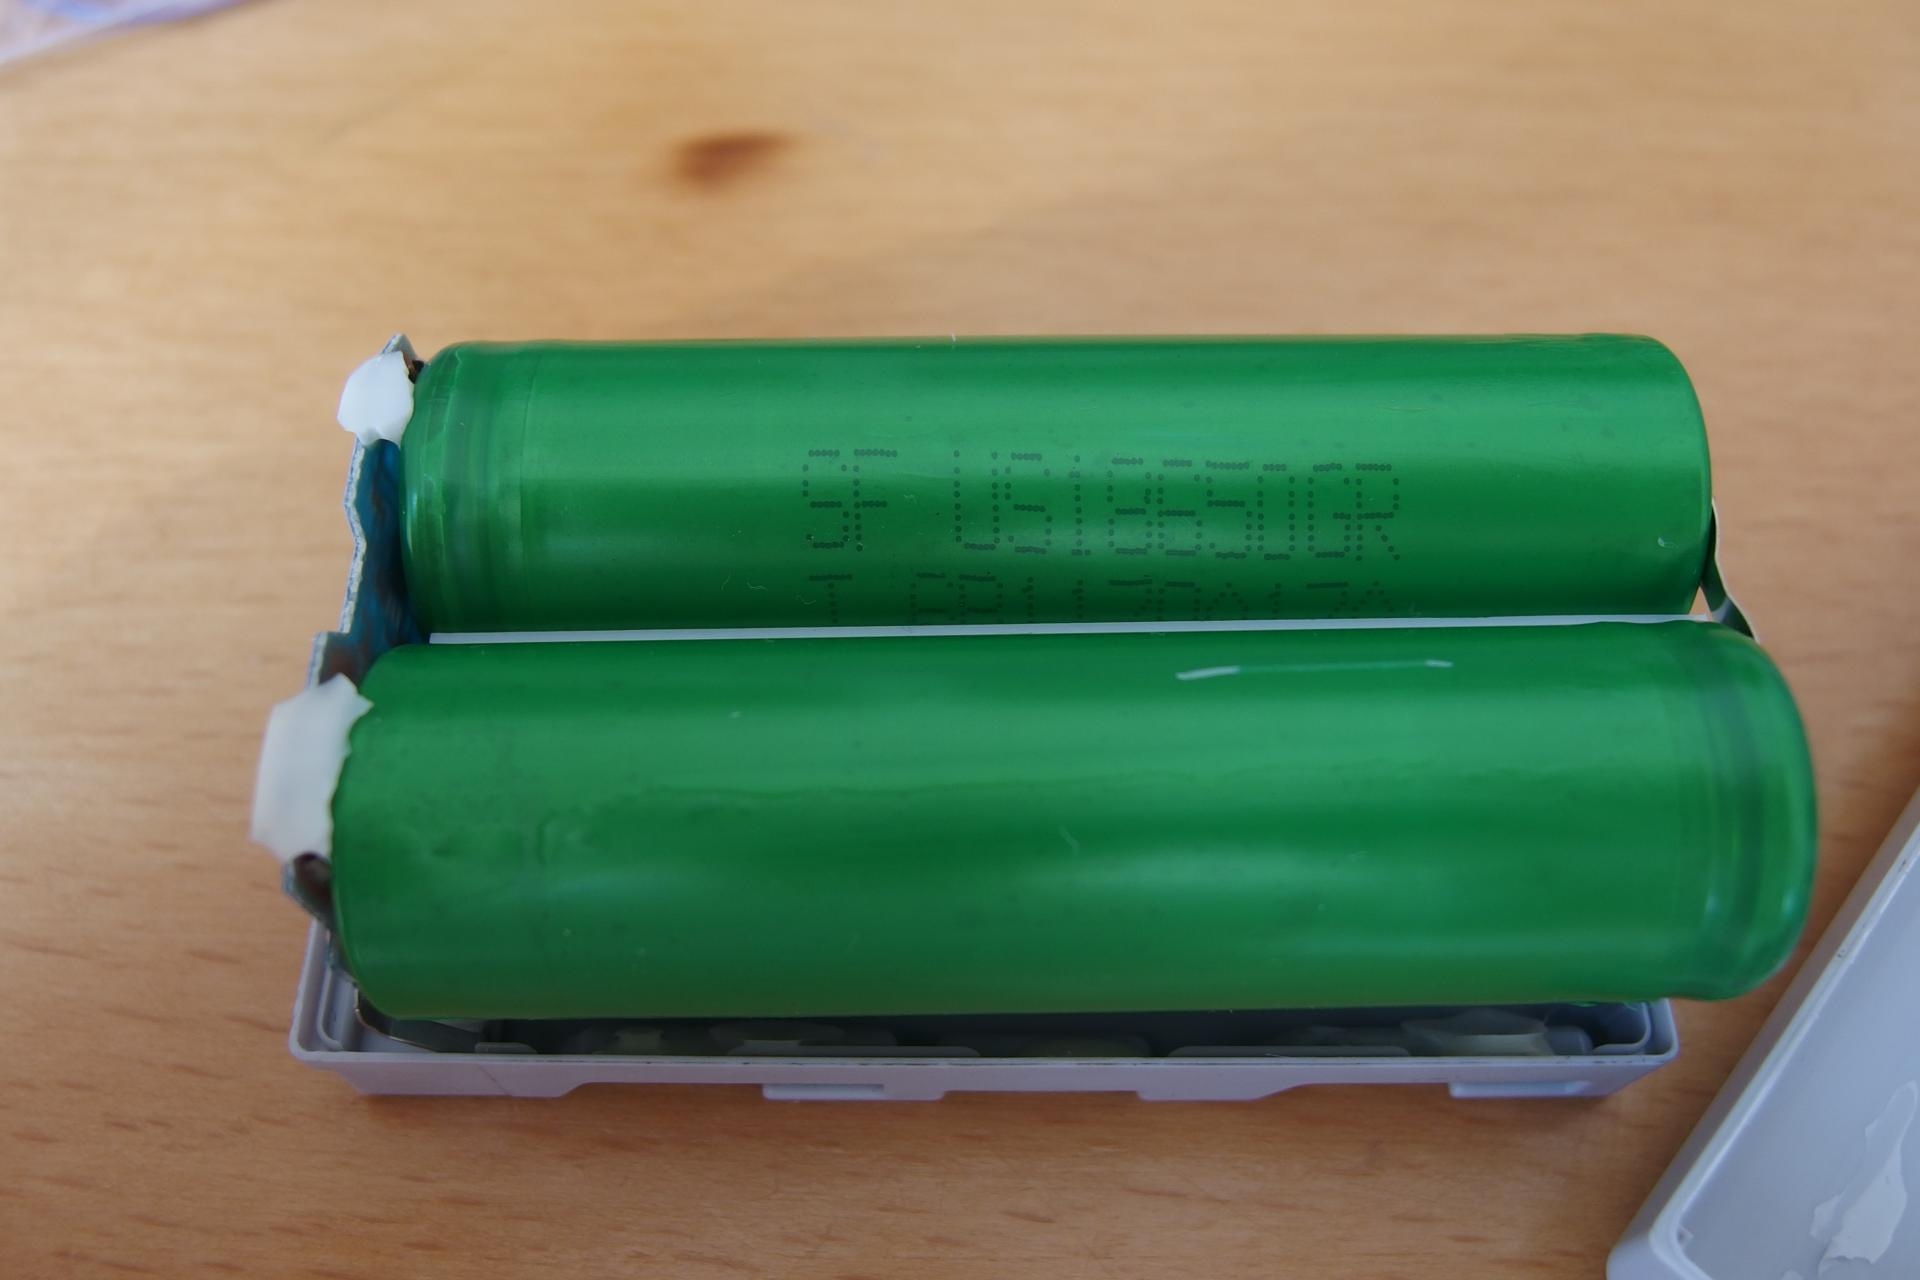
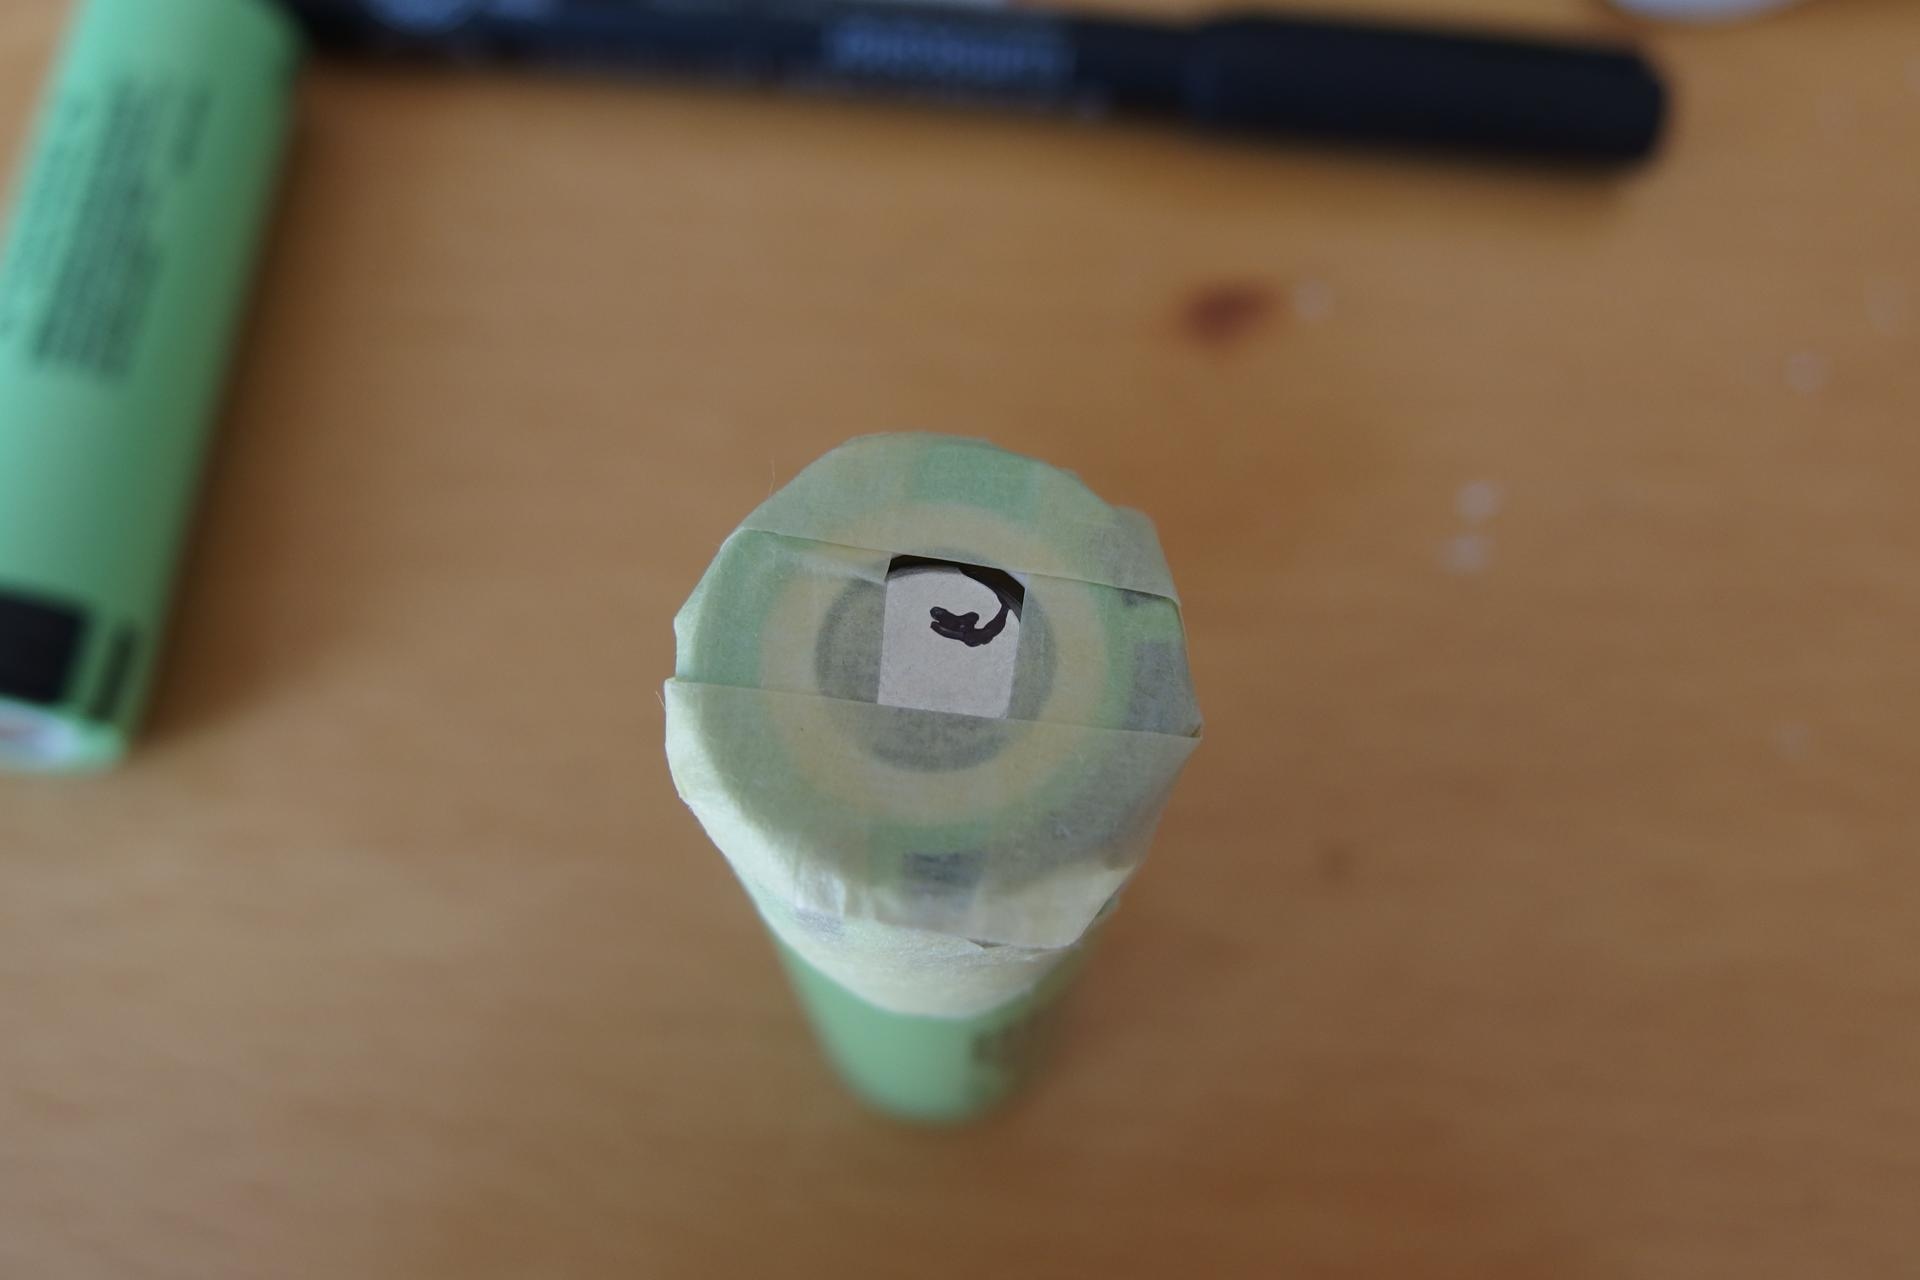
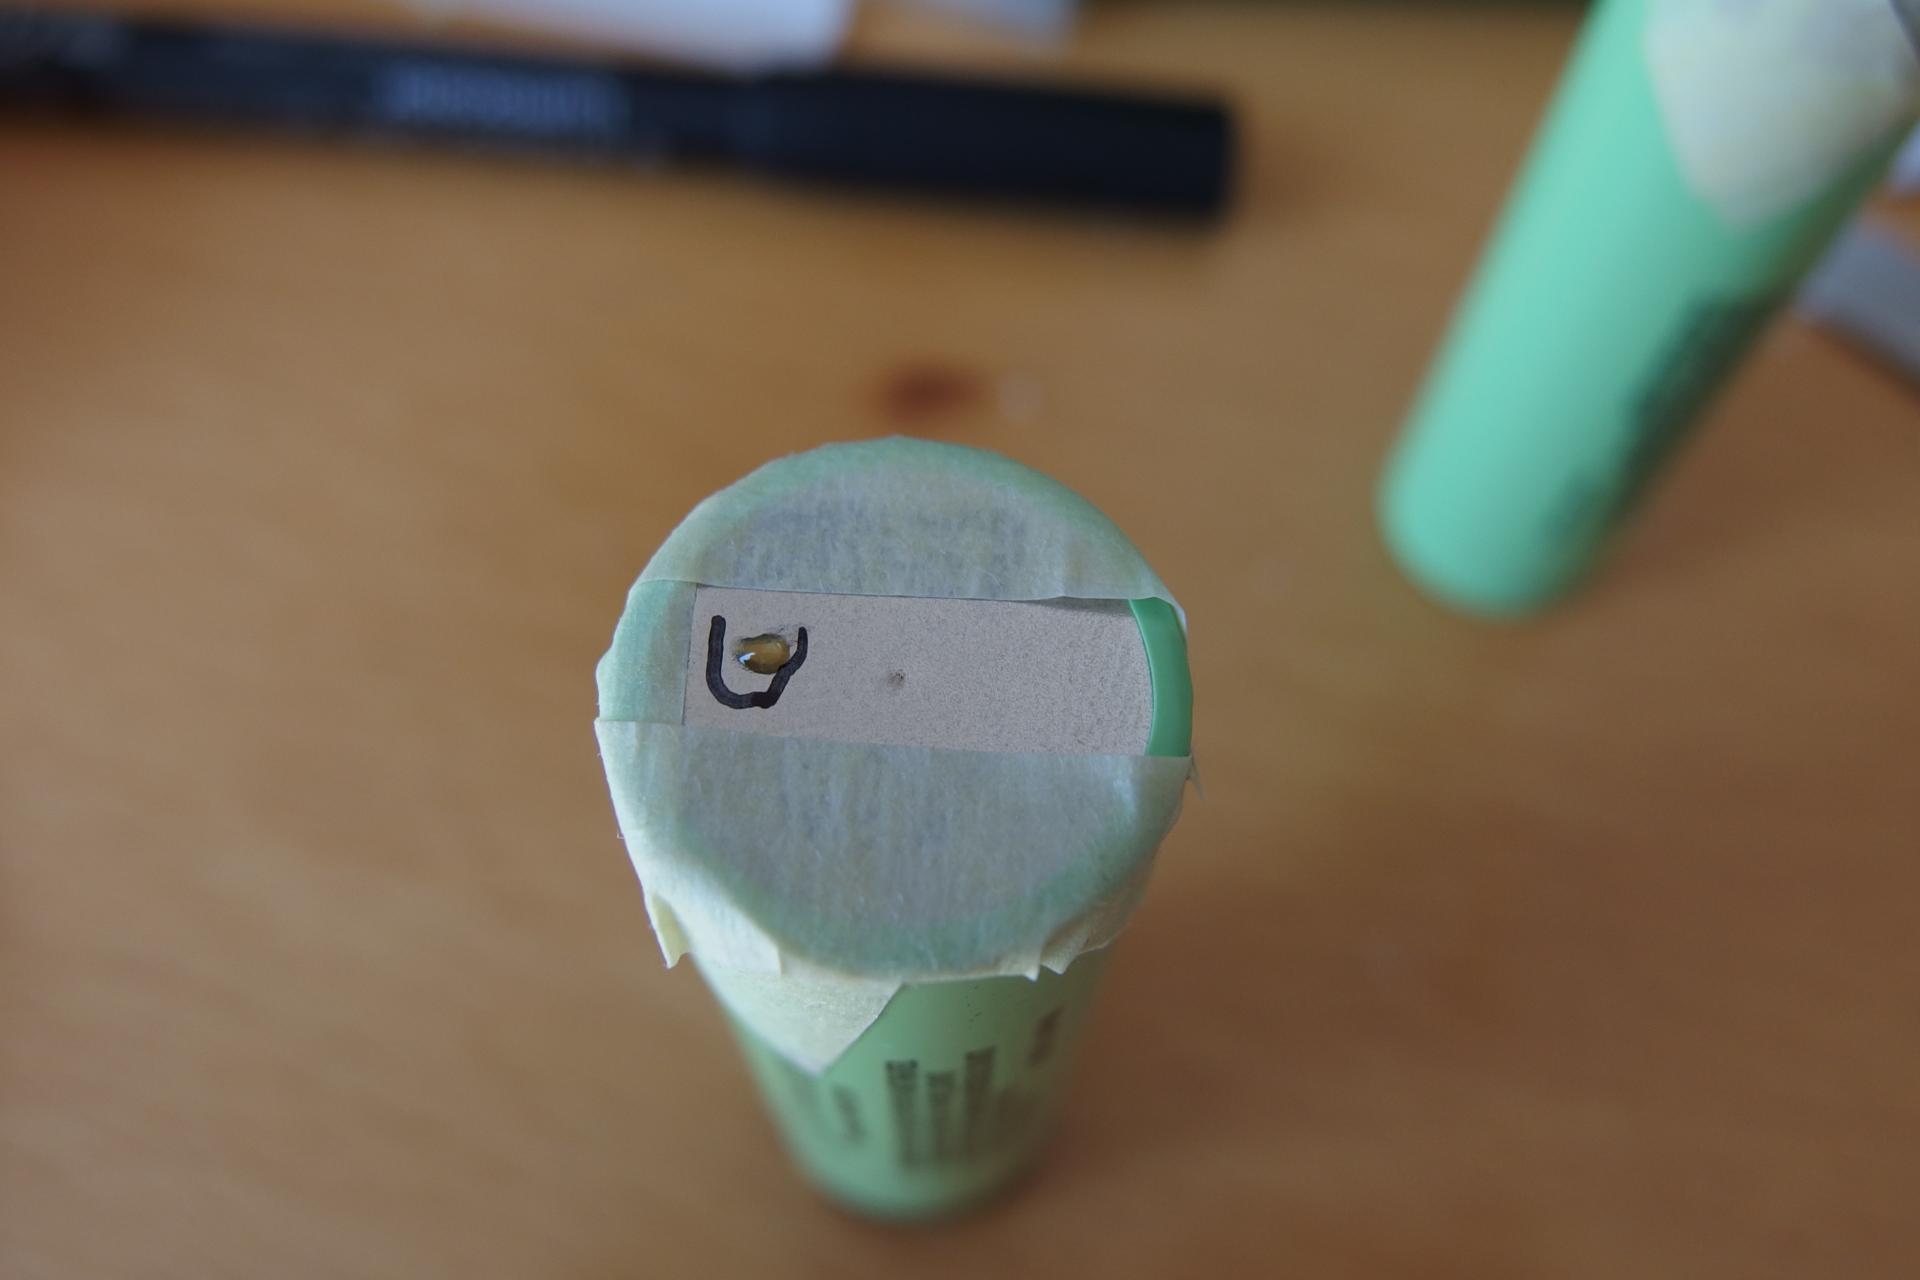
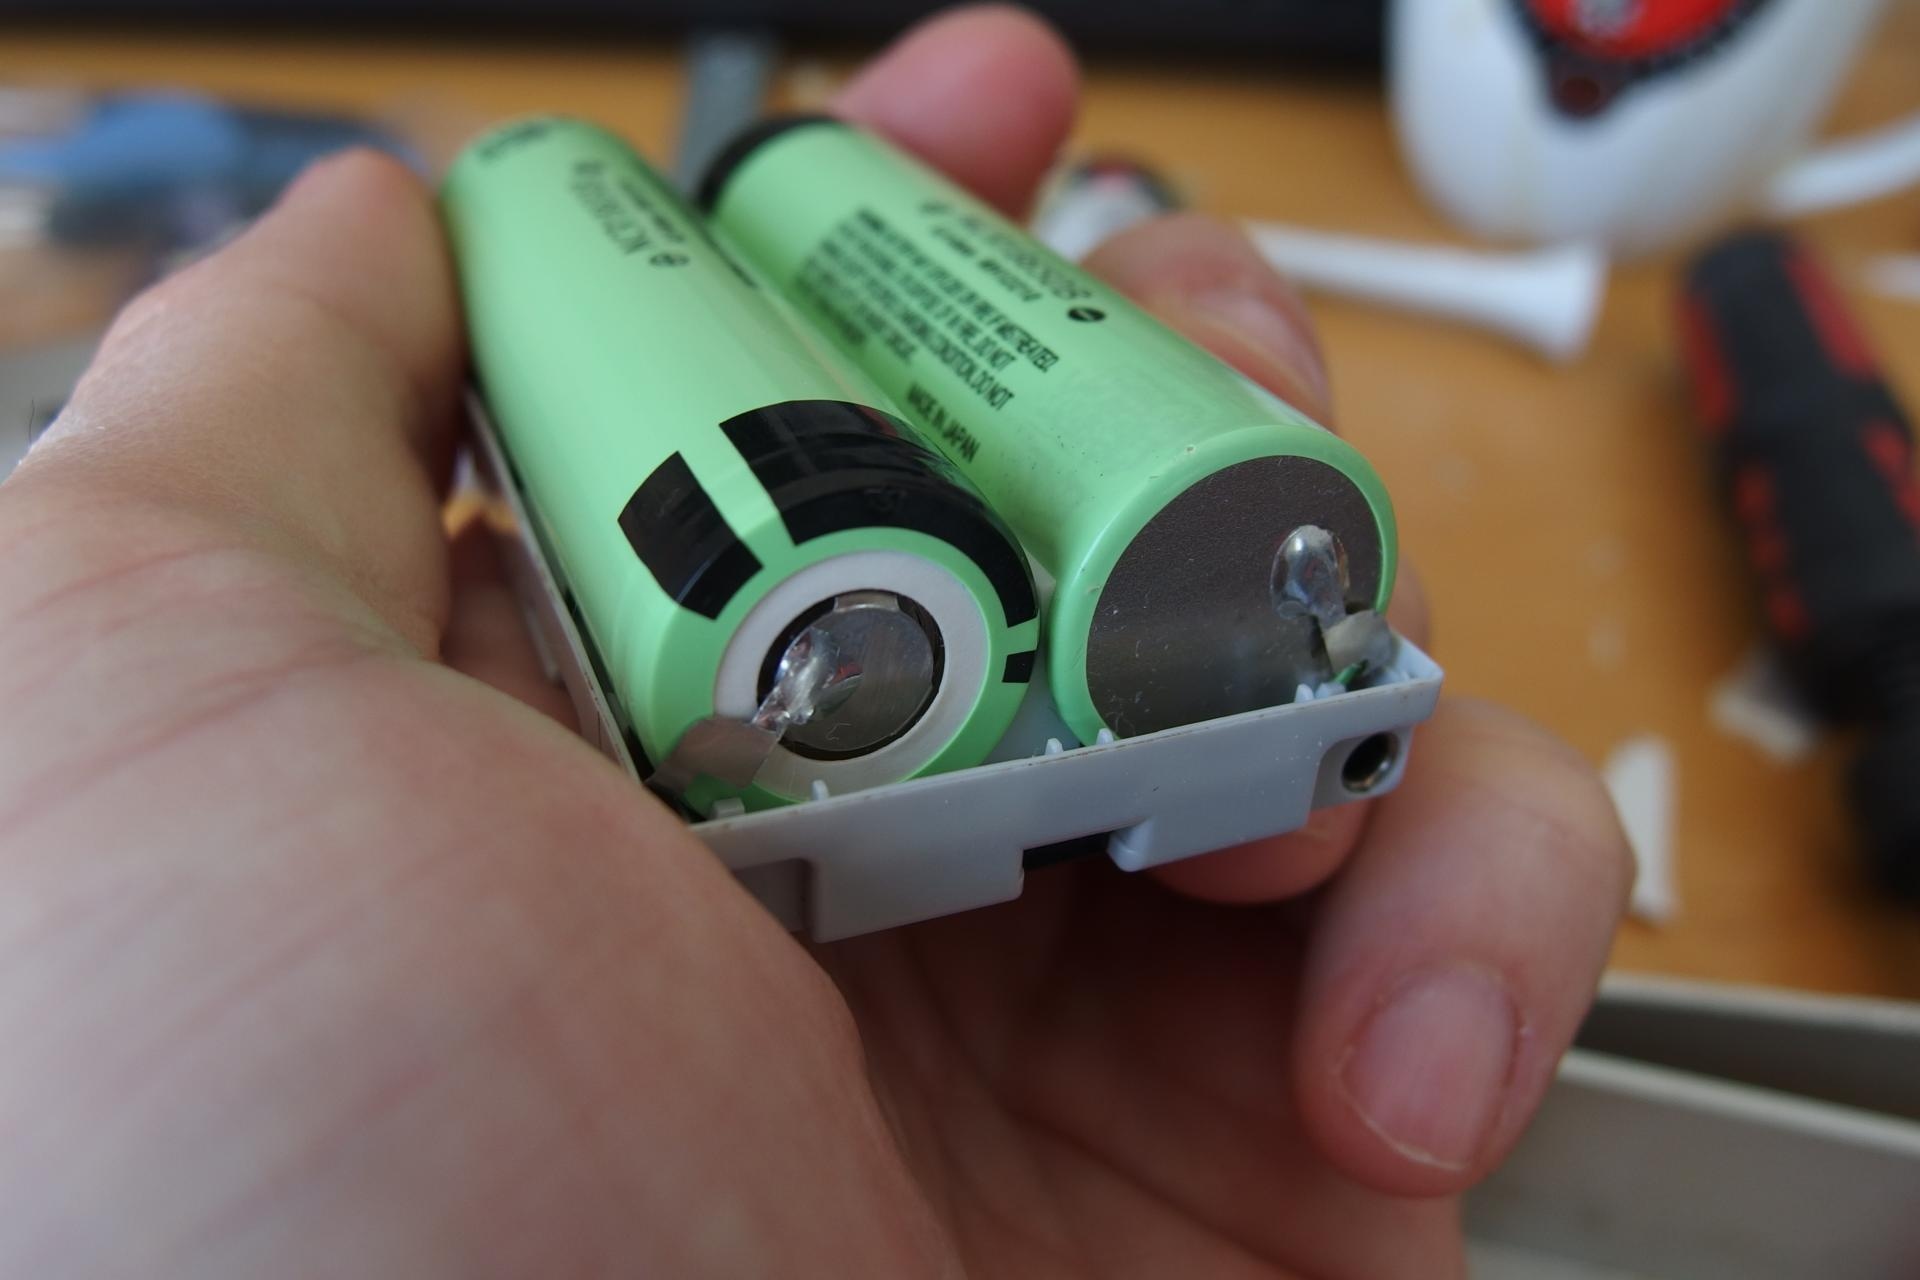
- Put new cells in and mark when the soldering joint will be.
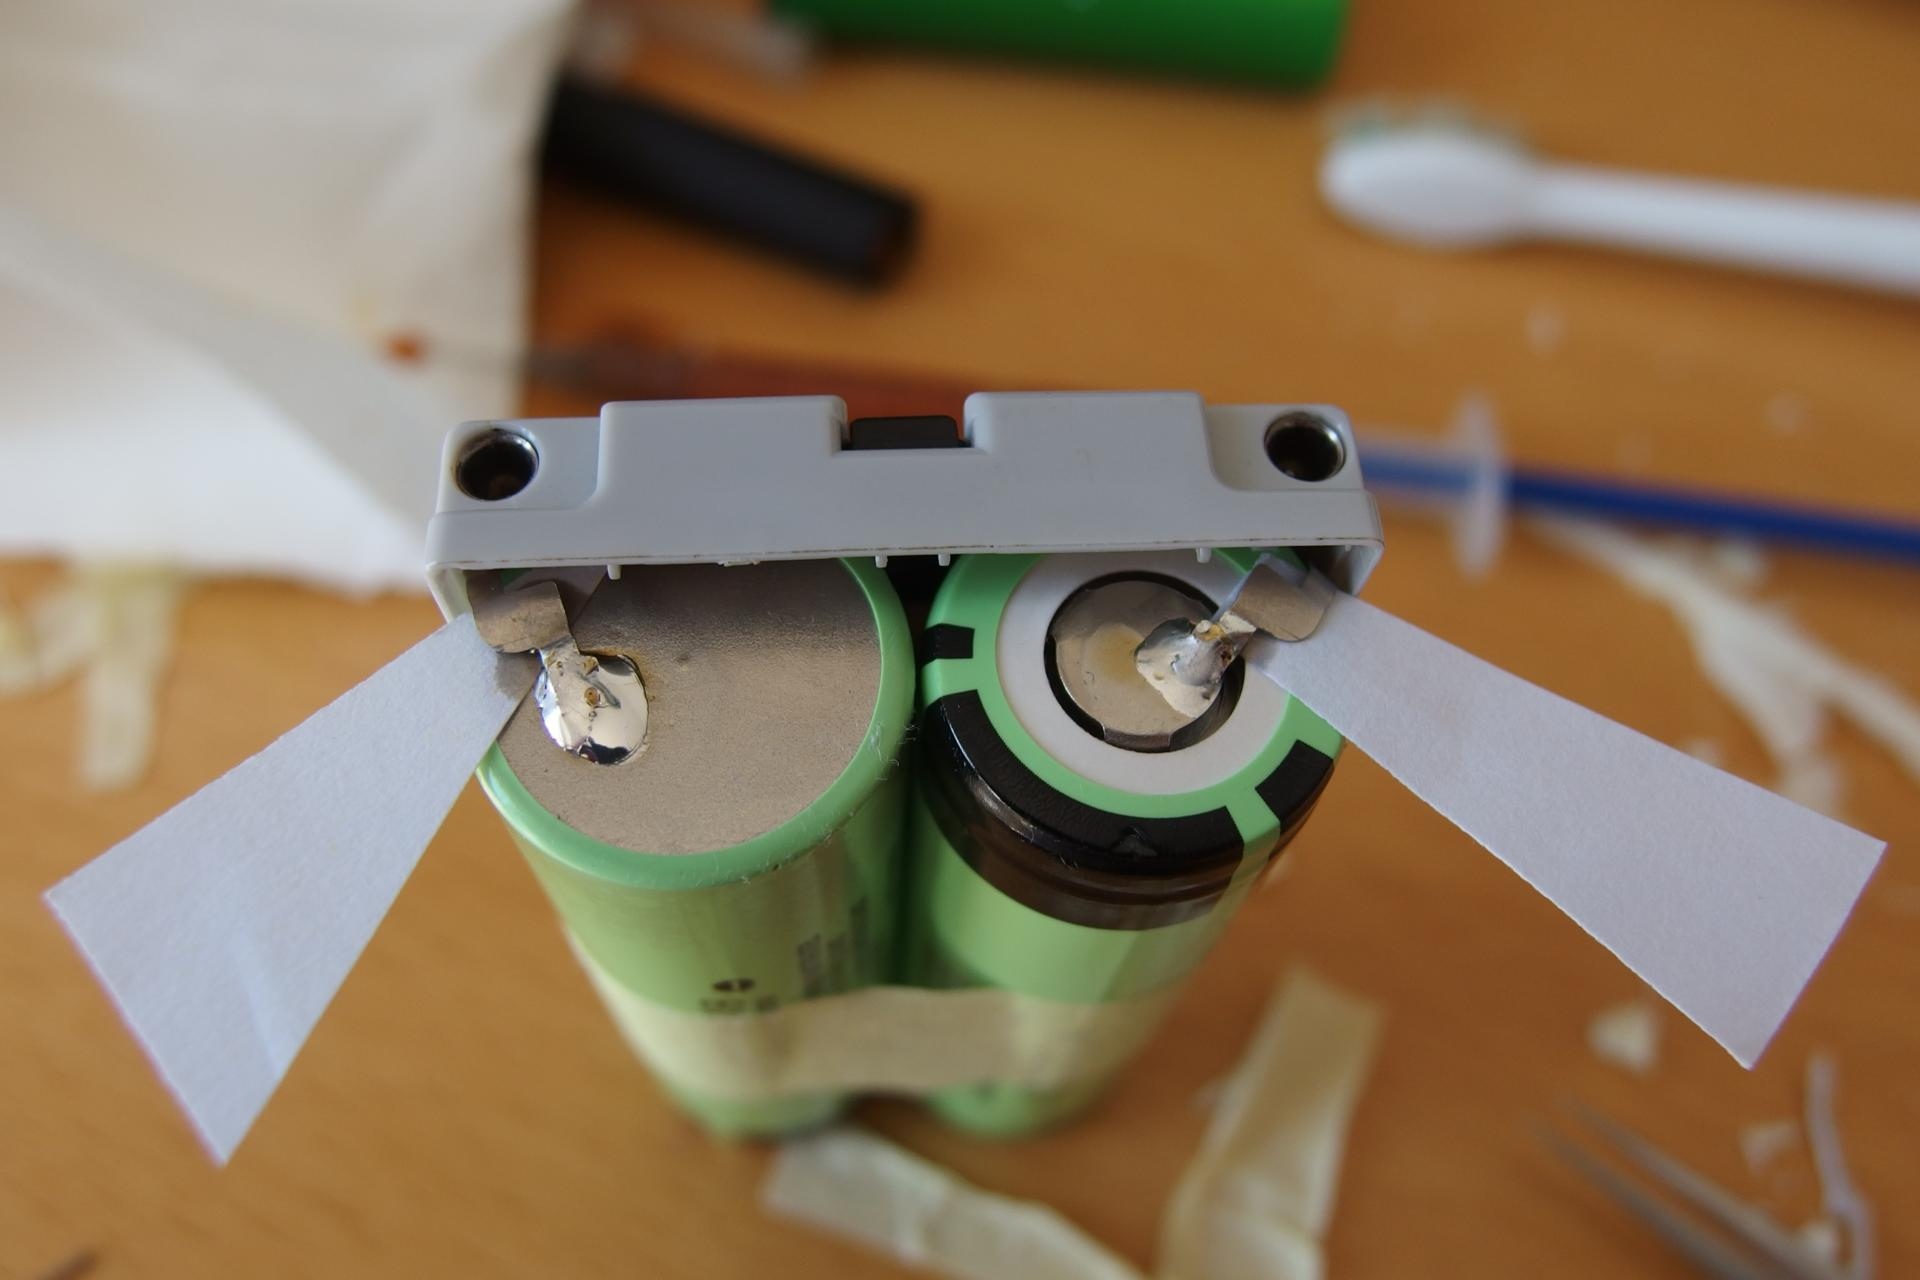
- Add solder to the battery terminals. Use some protective tape to avoid shrinking the battery insulation.
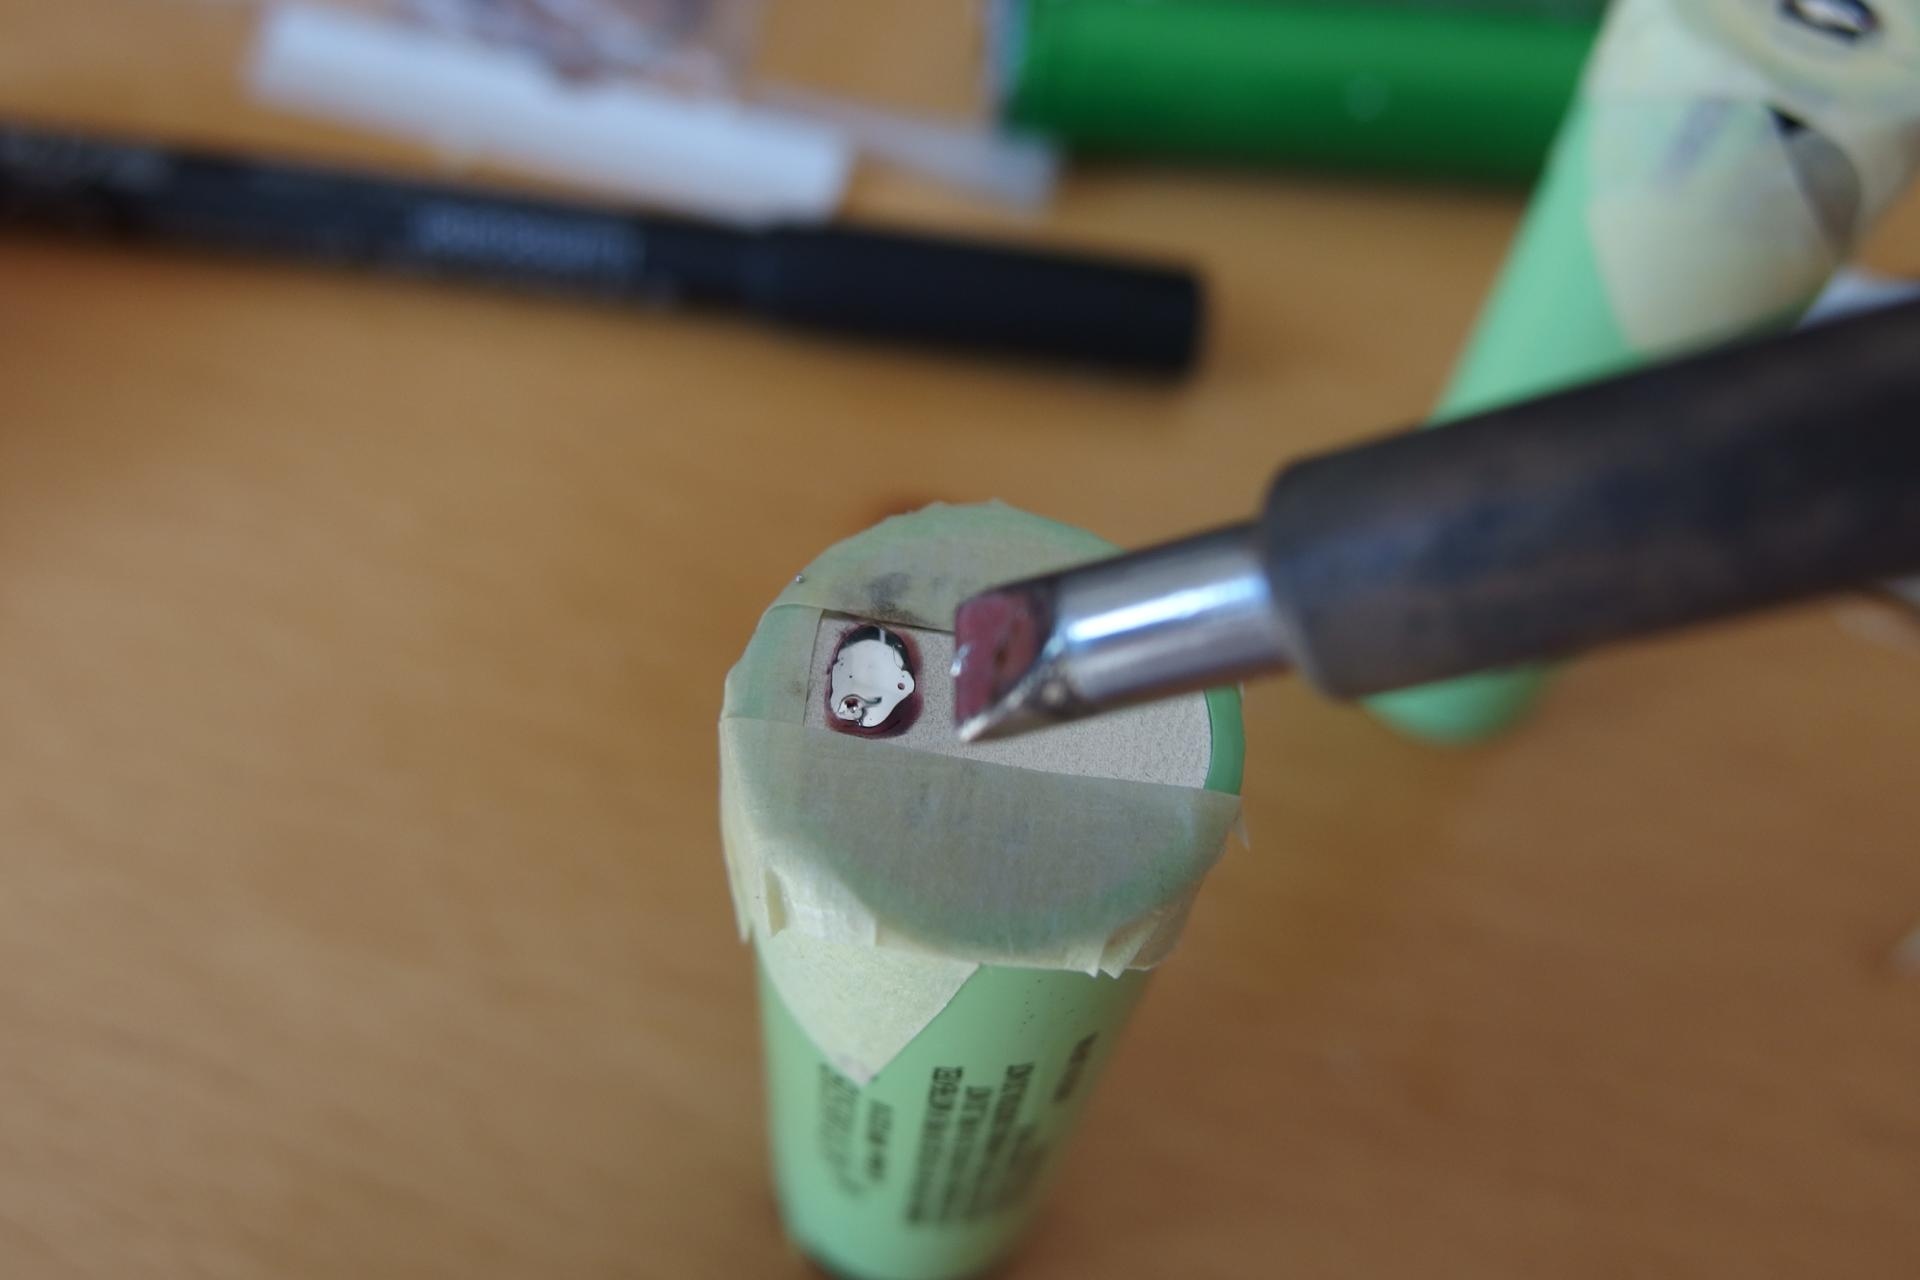
- Solder batteries to the terminal. Do not use any corrosive flux. You need a properly sized tip. I used my Weller WSD81 set to 320°C, WSP80 with the D soldering tip, FL22 flux and leaded solder. Note that I added some paper inserts under terminals. This prevents hot flux from leaking under the battery plastics.
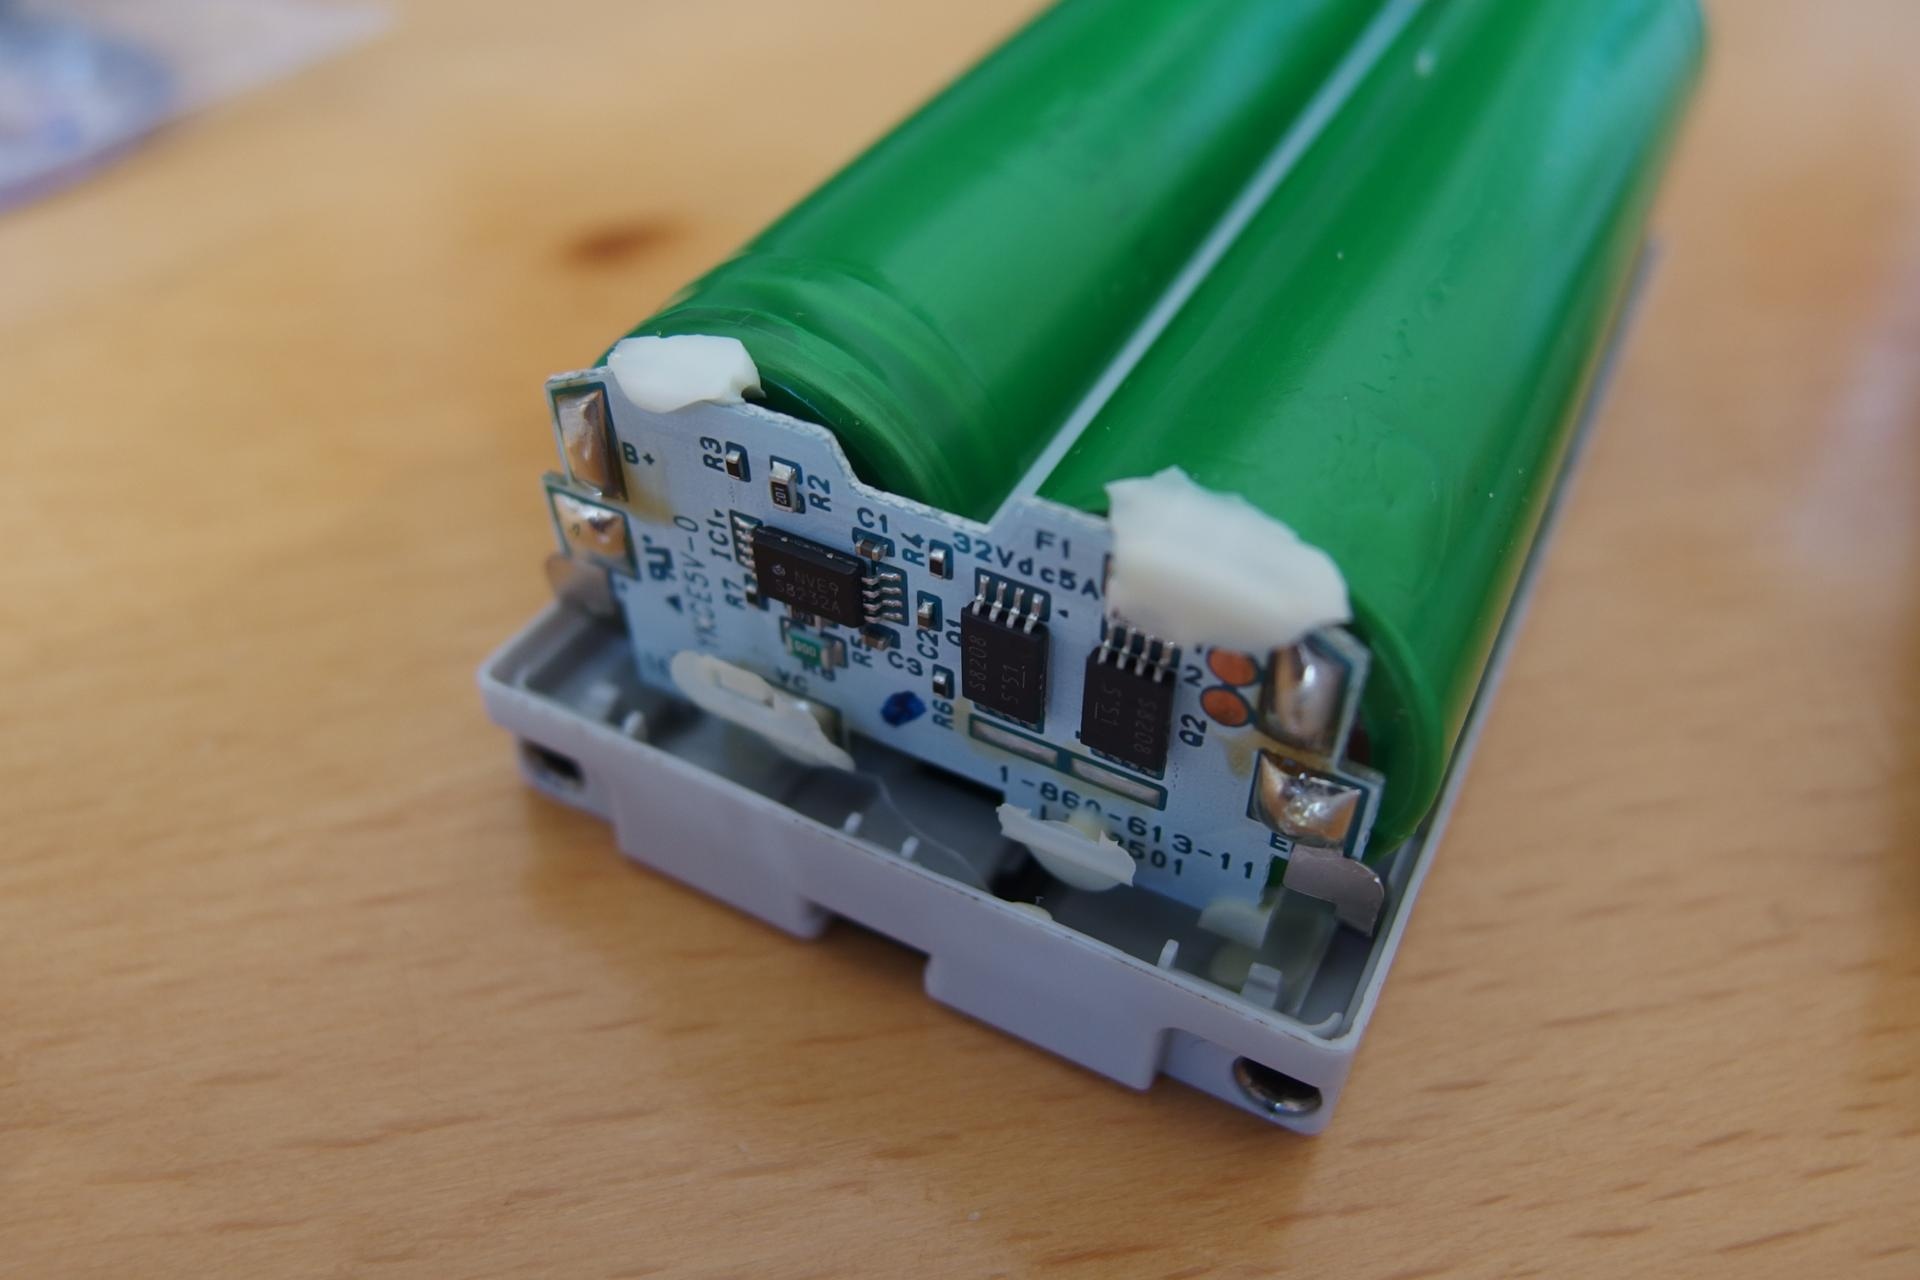
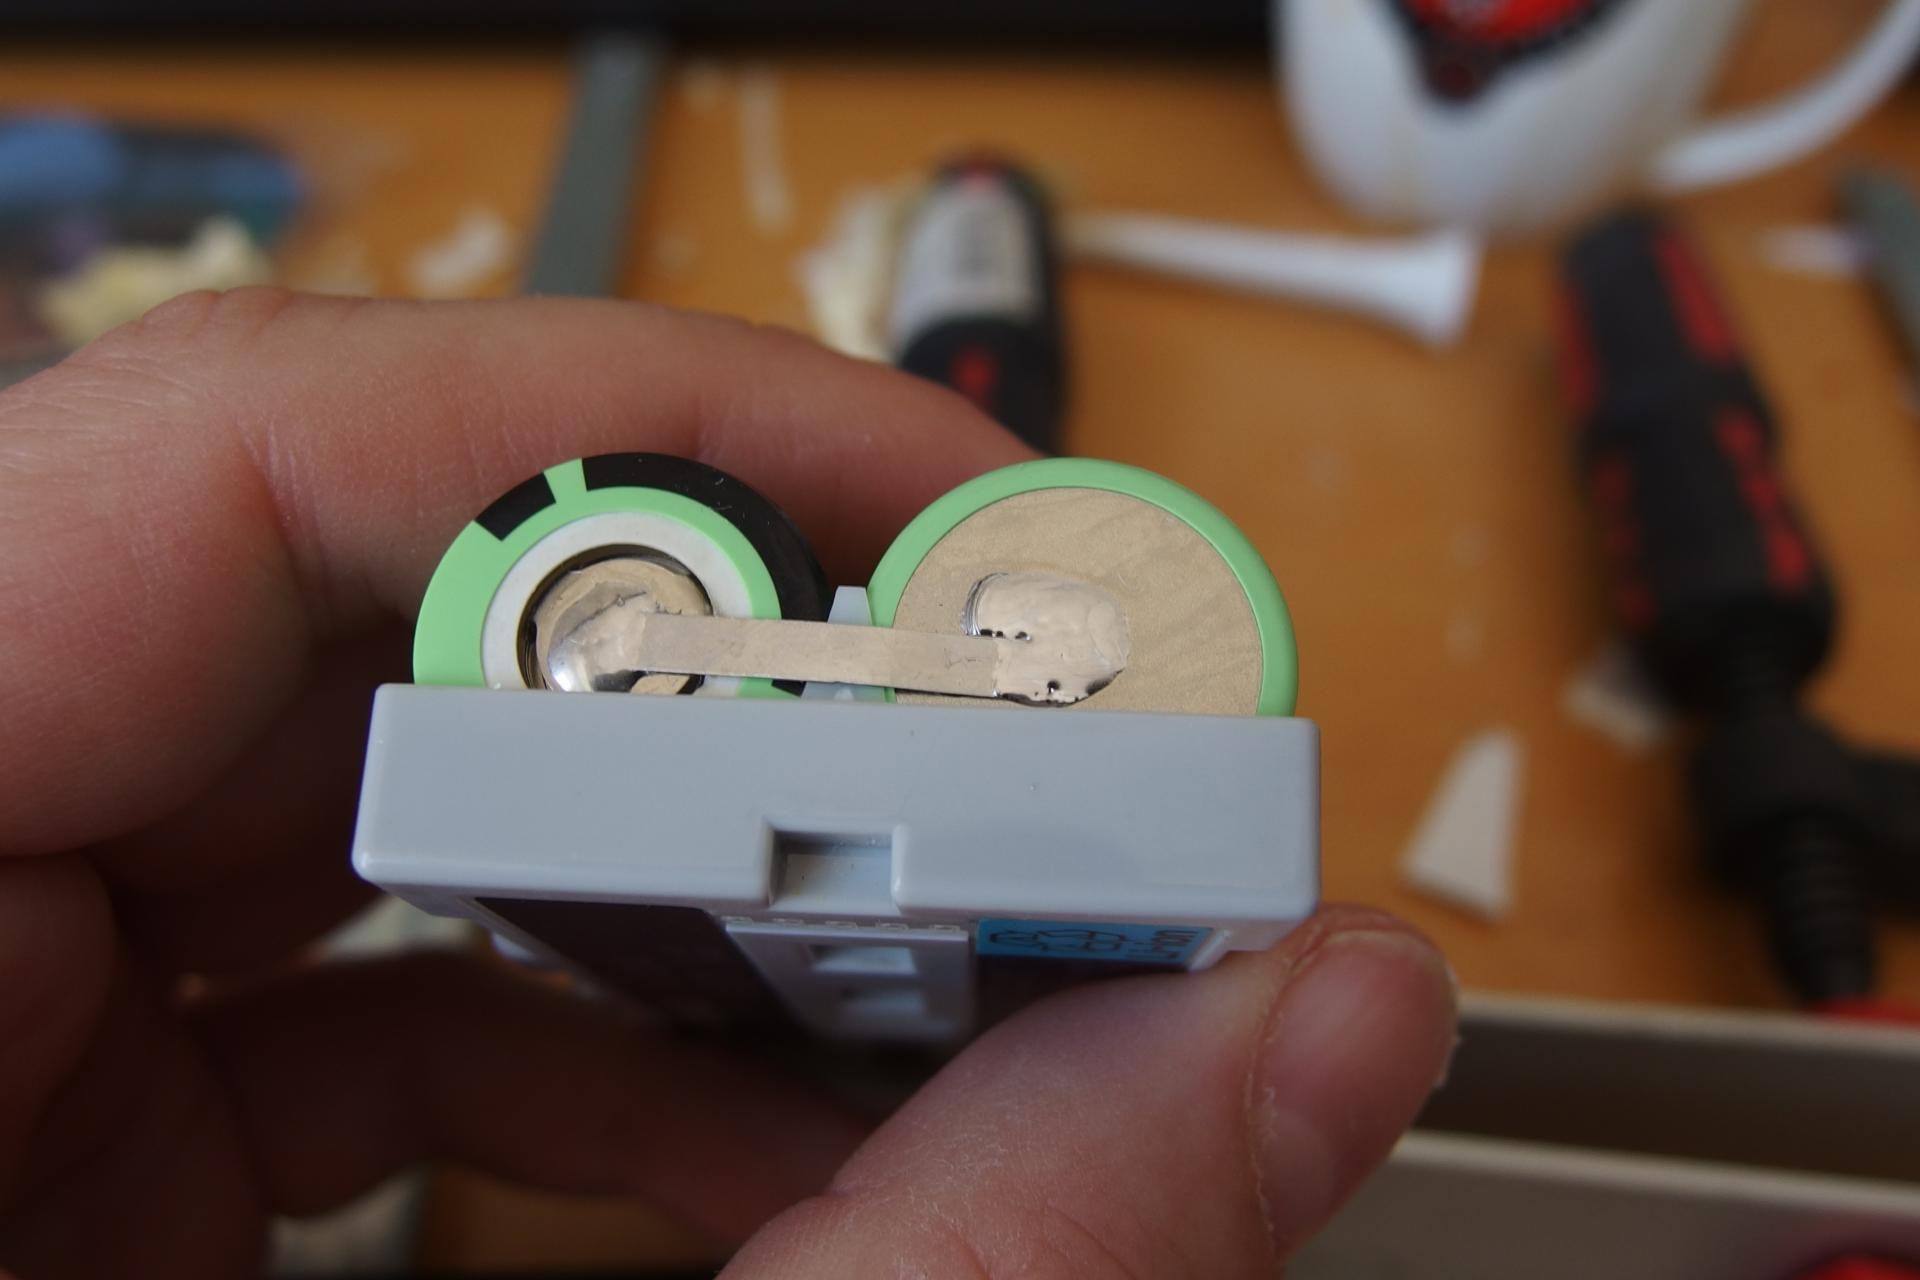
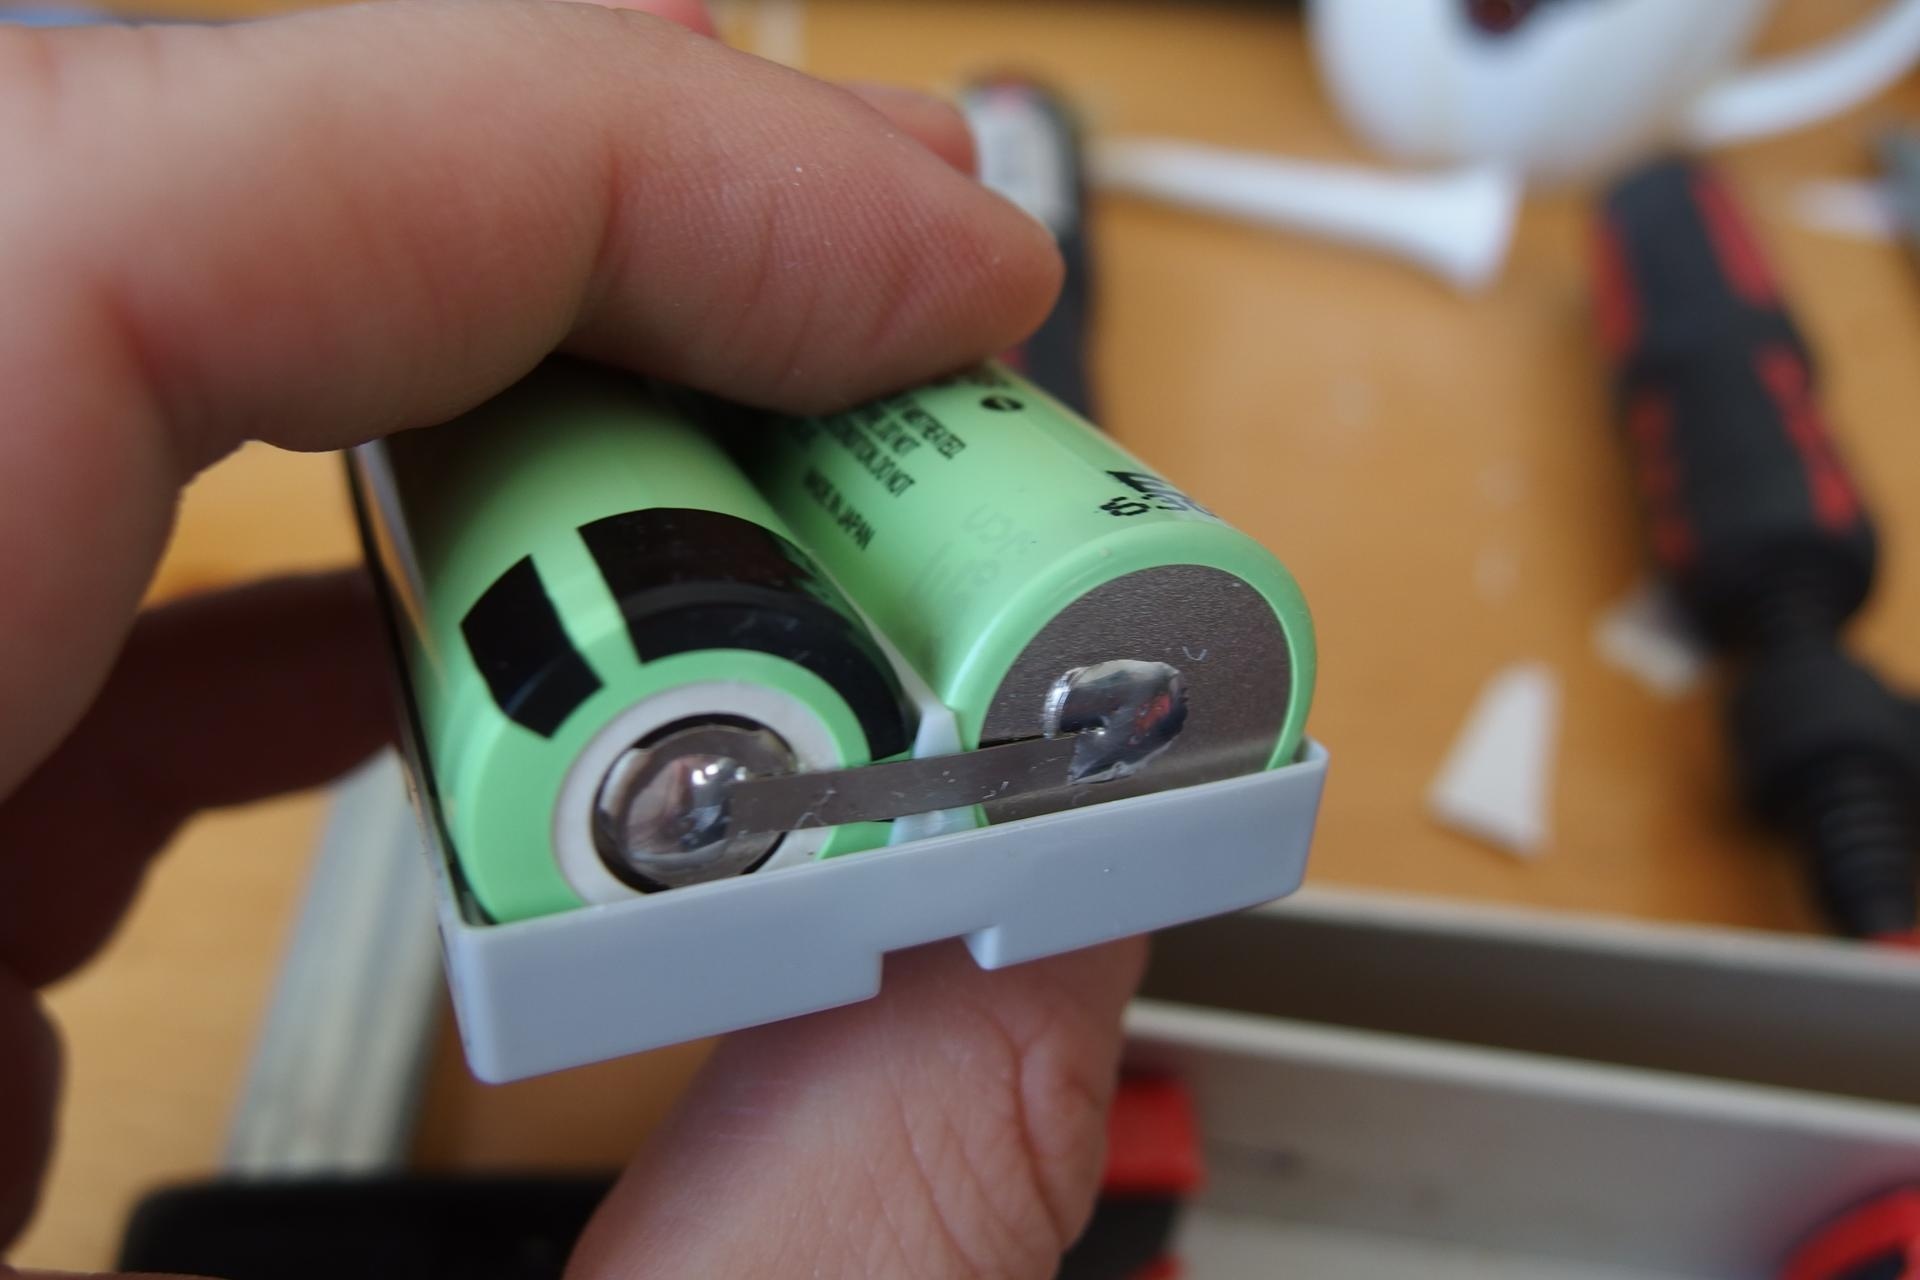
- Use the same approach for the other side of the battery. I used the metal bar from the old pack. I don’t mind the protection circuitry and I do not want it in my radio. (no rant please, I removed electronics from my previous 8FG right after bringing it home).
- Clean soldering joints with a cotton swab and isopropyl alkohol.
- Check the polarity one more time.
- You can glue (e.g. 5min epoxy) or tape the plastic back together. If you were precise the pack will look like new.
Gallery


